| 1780 Views | Amin

Introduction:
When you install Ticket24, you typically start with an empty group in Bitrix24, and you’ll need to customize your tickets by adding a responsible person and defining deadlines. Additionally, you’ll want to track completed and ongoing tickets, and it’s common to set up notifications for ticket updates. Let’s dive into the main settings of Bitrix24 robots and learn how to configure them.
Setting up Deadlines for Tickets:
Deadlines play a crucial role in ticket management. By setting deadlines for each ticket, you establish a sense of urgency and prioritize tasks effectively. Deadlines ensure that tickets are addressed promptly and that customer or client expectations are met. By defining specific timeframes for resolution, you can prevent delays and improve overall customer satisfaction. Deadlines also enable you to monitor ticket progress and identify any bottlenecks in your support or service processes.
Assigning Responsible Persons for Tickets:
Assigning a responsible person to each ticket is vital for efficient ticket resolution. By designating someone to be accountable for a ticket, you ensure that there is clear ownership and accountability within your team. Having a responsible person ensures that tickets are handled by the most suitable team member who possesses the necessary expertise and knowledge. This minimizes confusion, reduces response times, and improves the overall quality of support or service provided. The responsible person becomes the go-to contact for any updates or inquiries related to the ticket, enhancing communication and customer satisfaction.
Setting up Notifications for Responsible Persons:
Setting up notifications for responsible persons is a key aspect of effective ticket management. When a responsible person is notified of a new ticket, they can immediately take action and initiate the necessary steps to resolve the issue. Timely notifications ensure that no ticket remains unattended, reducing the risk of delays and improving customer response times. By receiving notifications, responsible persons can stay updated on their workload, prioritize tasks, and provide timely updates to clients or stakeholders. Notifications improve communication within the team, enabling seamless collaboration and preventing any tickets from falling through the cracks.
Below you can find step by step instructions on how to make these settings in Bitrix24 yourself :
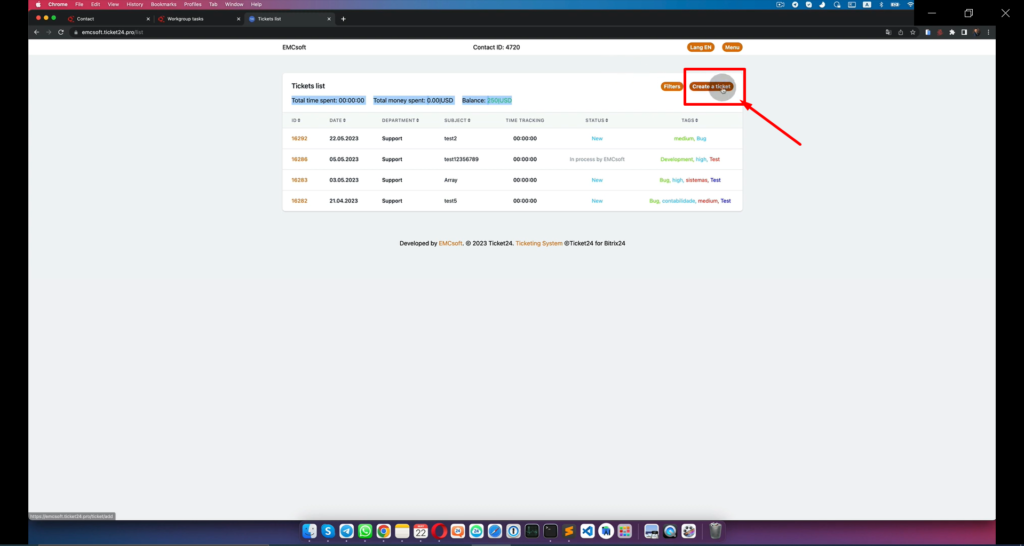
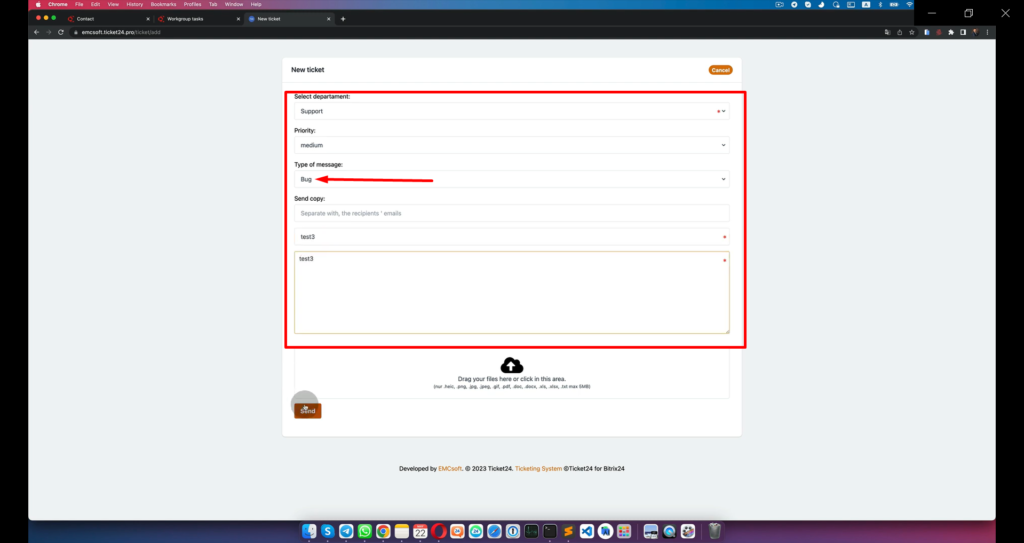
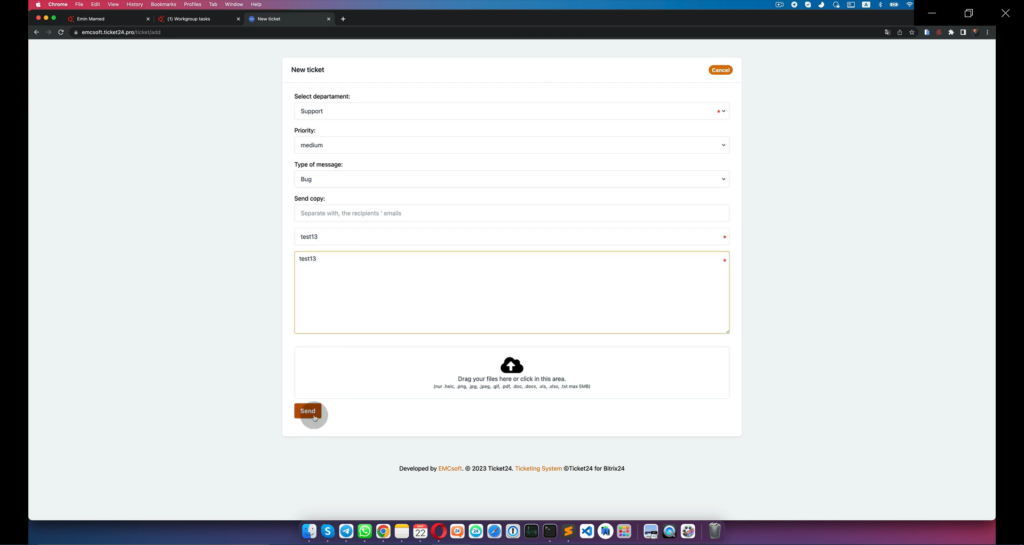
1. Click “Create a ticket”
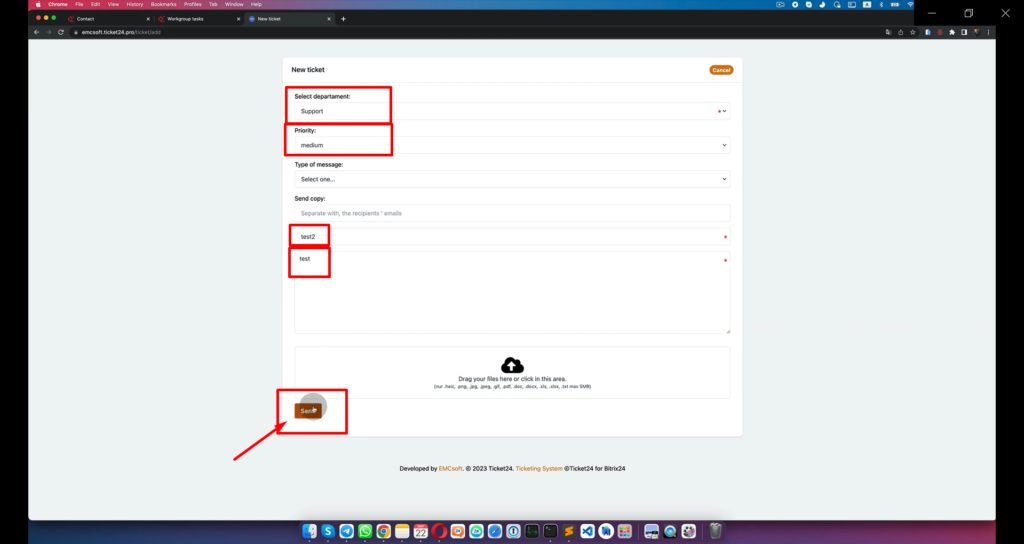
2. Choose “Support” in the ‘Select department’ dropdown, Priority is “Medium” and click “Send”
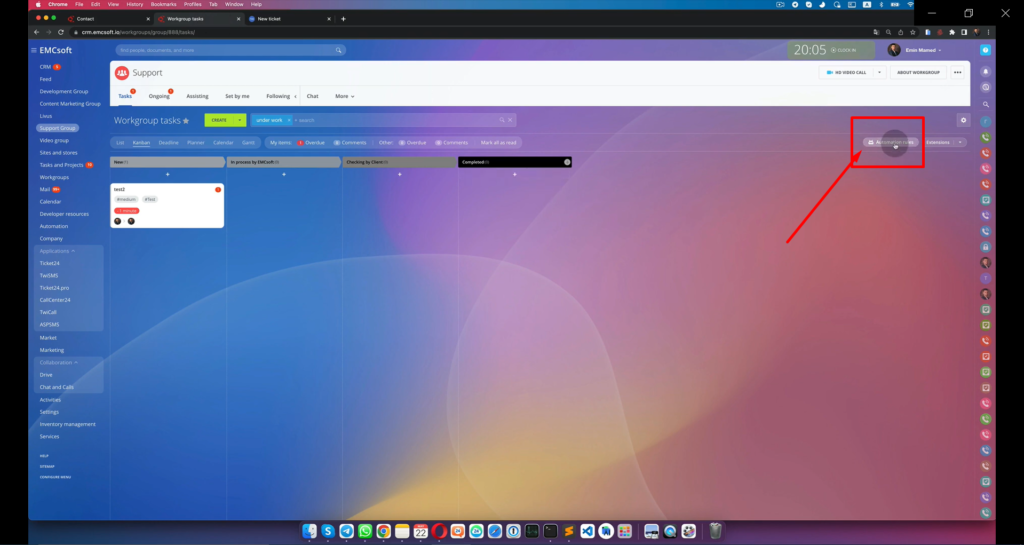
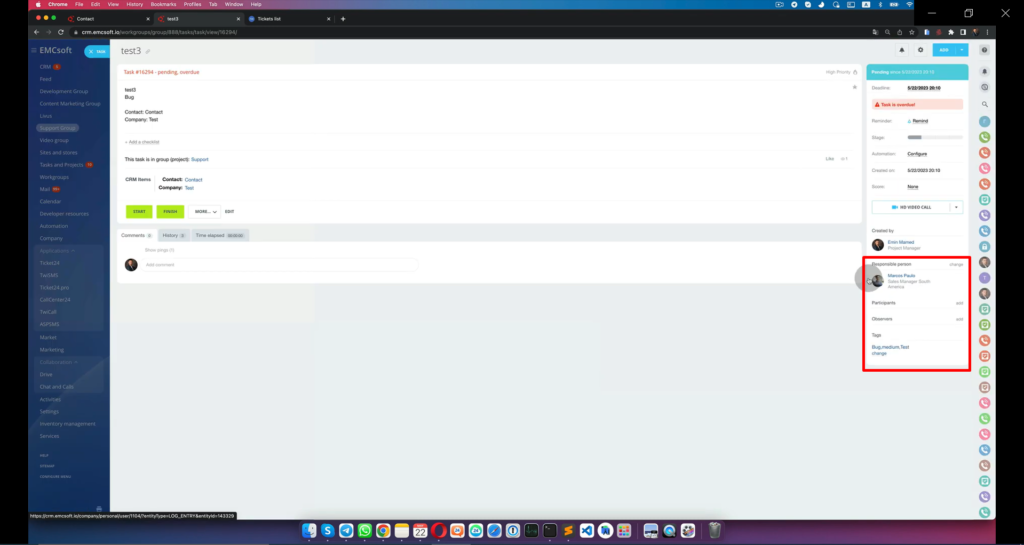
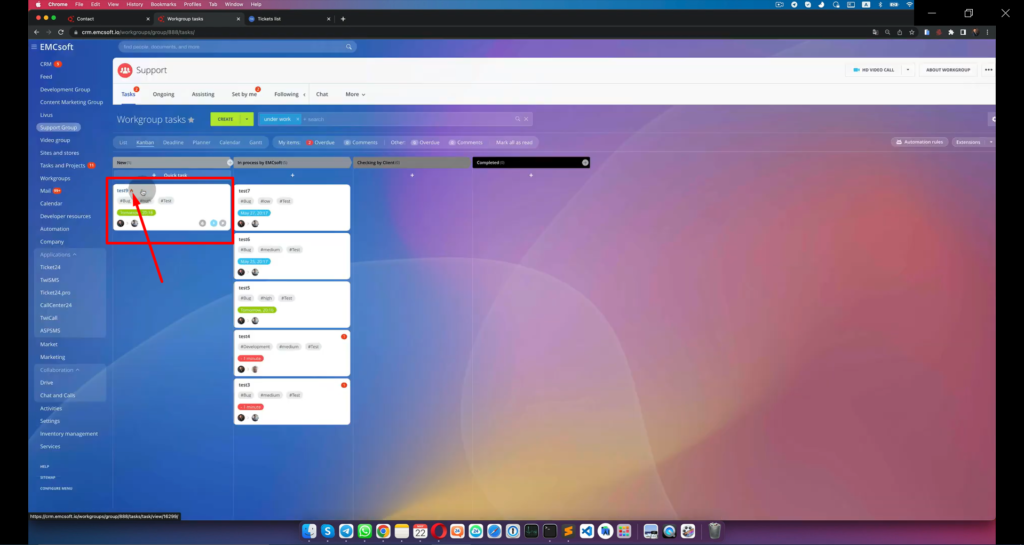
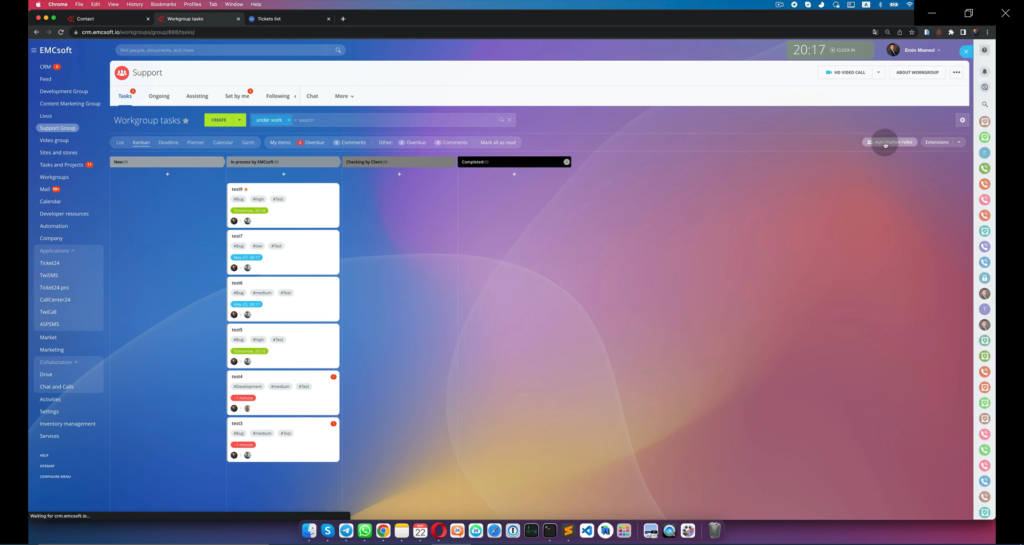
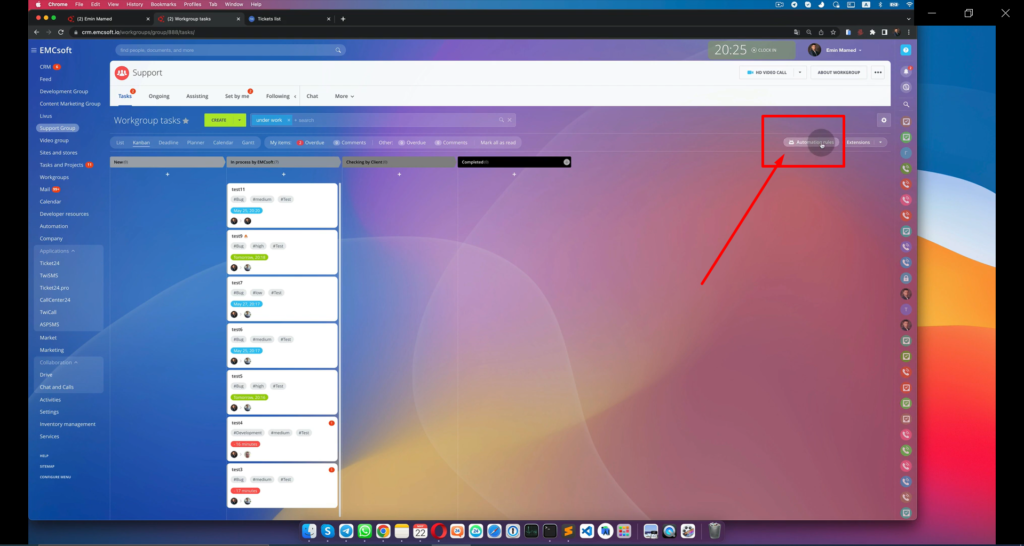
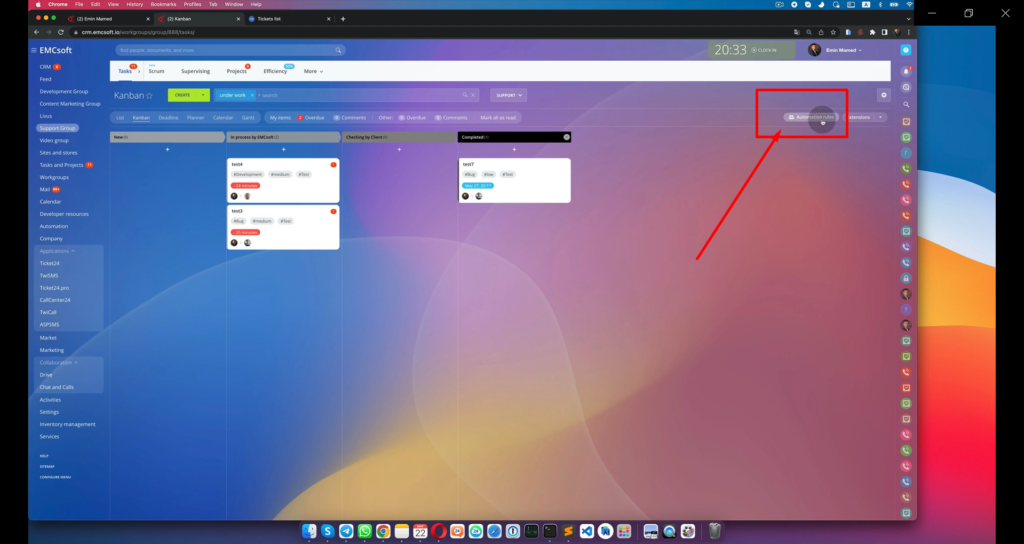
3. Now you can see the new ticket in your dashboard.

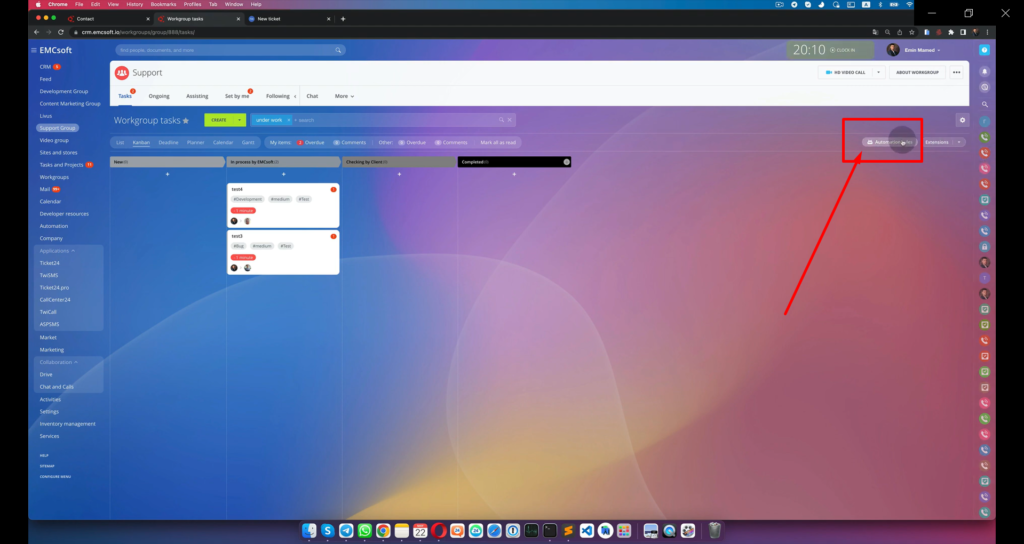
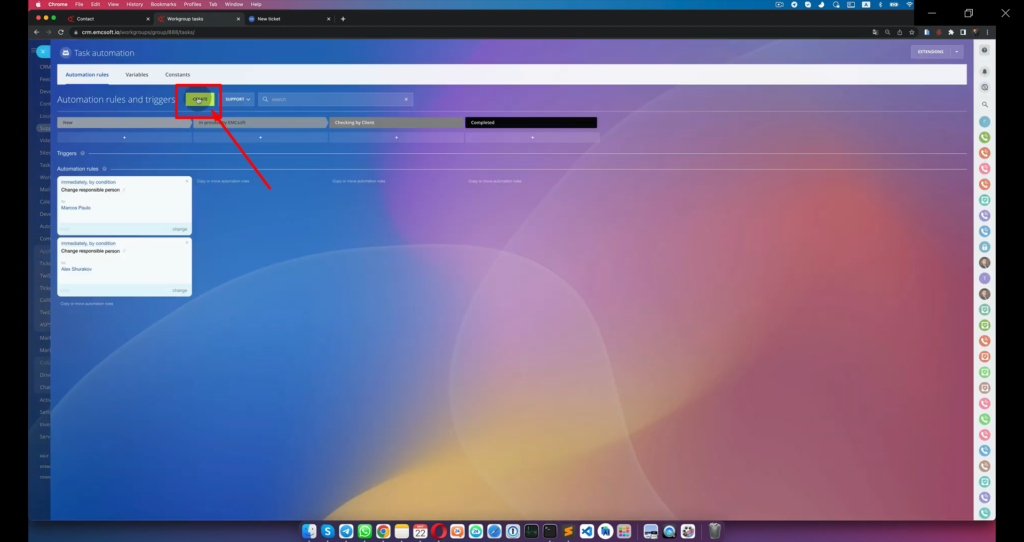
4. Click “Automation rules”
5. Then click “Create” to make a new robot.
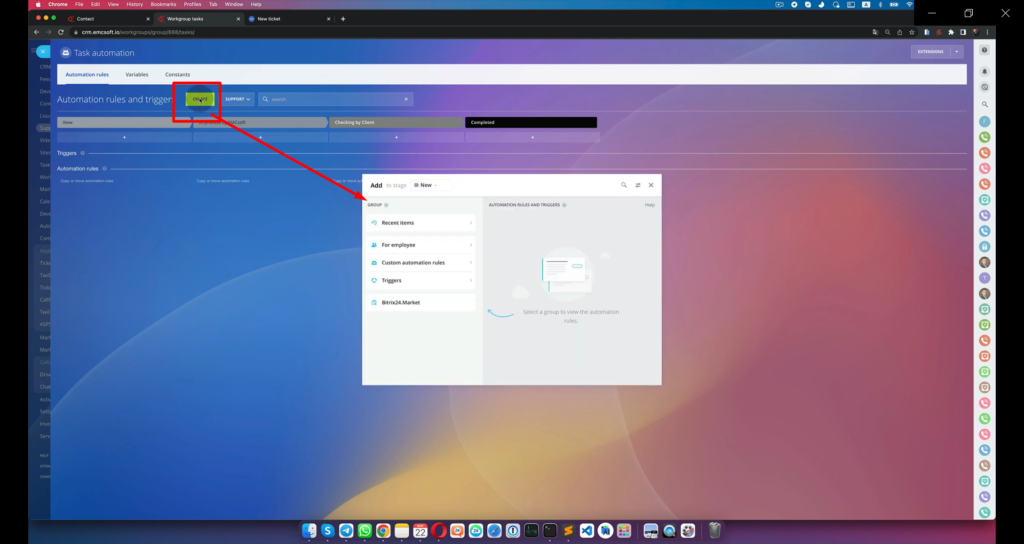
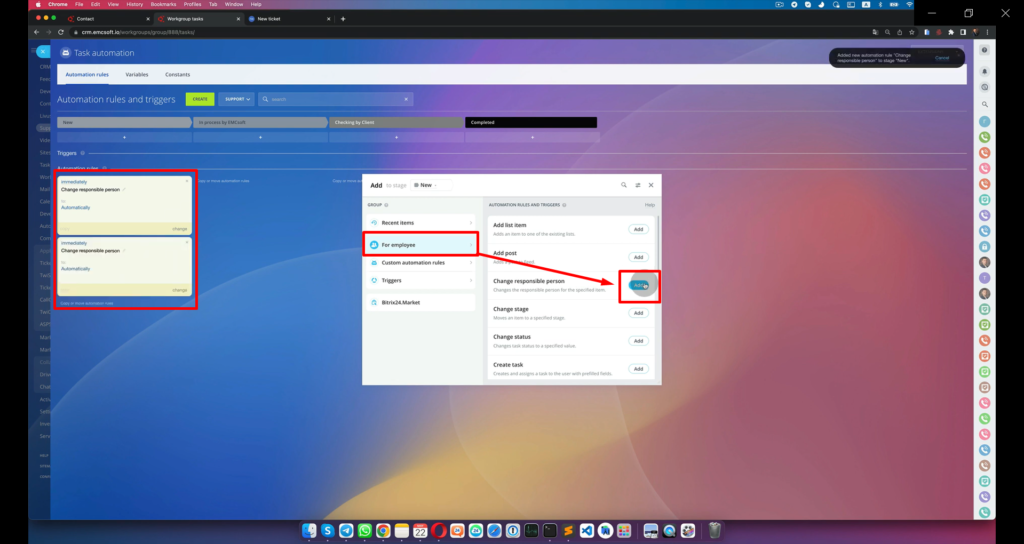
6. Select “For Employee” then “Change responsible person” then select “Add”. One robot is equal to one responsible person. Then close the box.
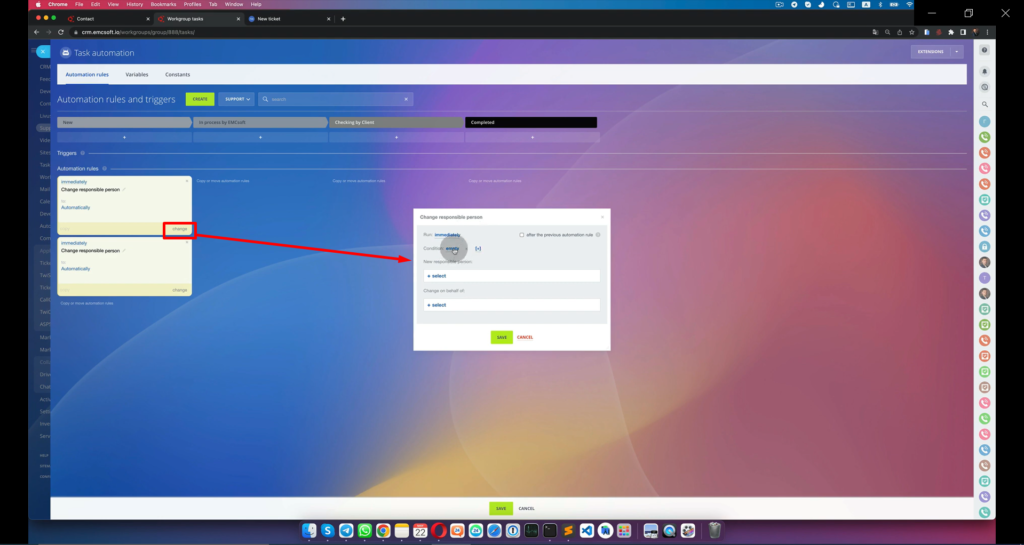
7. Click “Change” to change the responsible person.
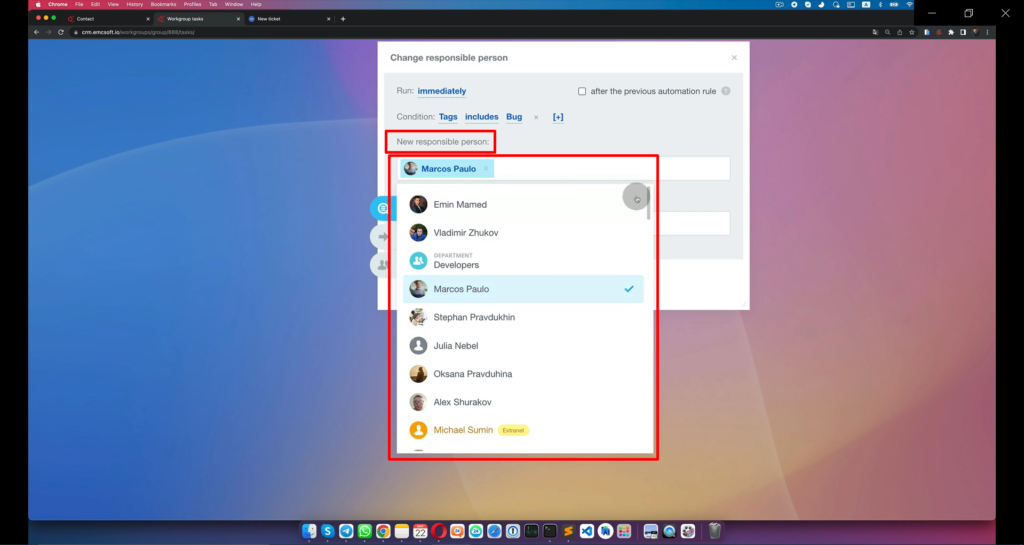
8. In “Condition” select Tags → Included → Bug. Then hit “Select”. Repeat the same for the other robot but choose “Development”.

9. Then choose the new responsible person.
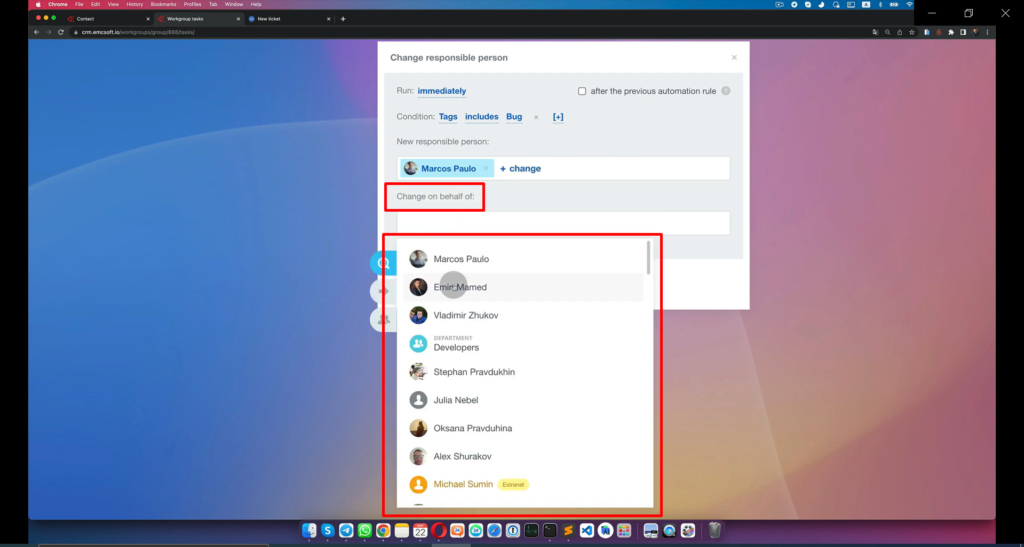
10. Then choose the person for the field “Change in behalf of” then hit “Save”
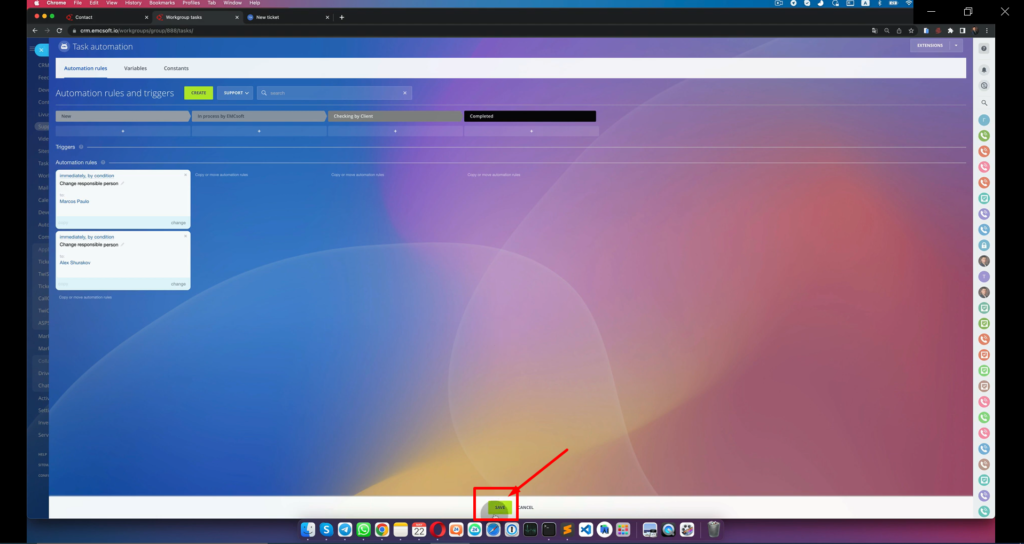
11. Hit “Save” then go back.
12. Now create another ticket, with “Bug”. Repeat the same with the other ticket with “Development as the “Type of Message”, then check if you’ve got the right responsible person. Then click “Send”.
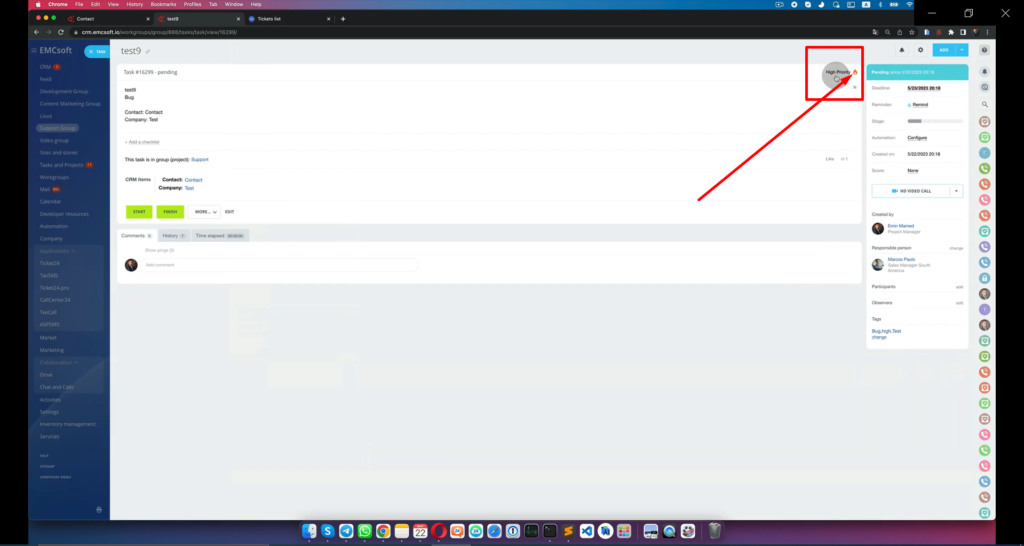
13. Check the ticket if you’ve got the right responsible person.
14. To change the deadline: Click “Automation rules”
15. Click “Create”.
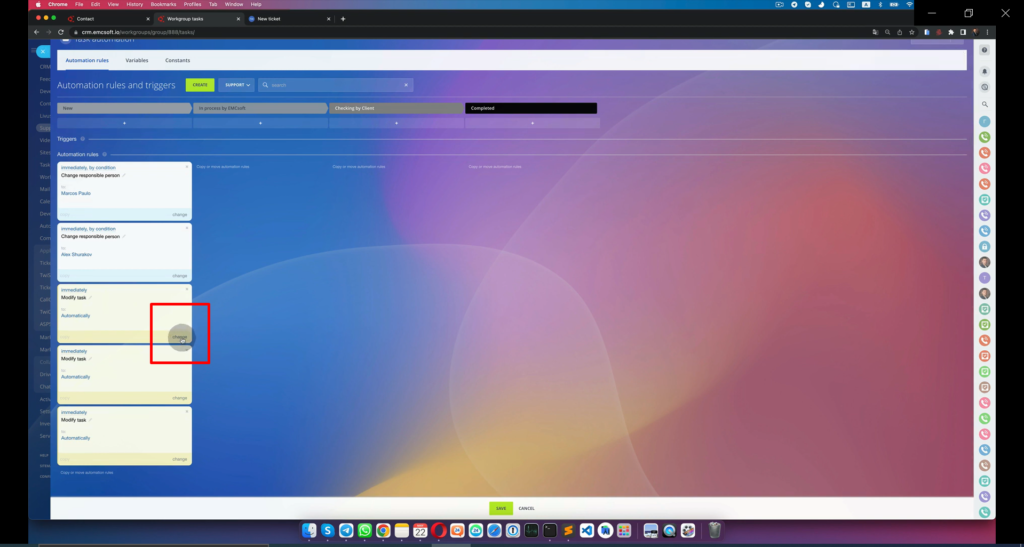
16. Select the “For Employee” the “Modify Task”.

17. One robot for high, medium and low priority. The click “Change”.
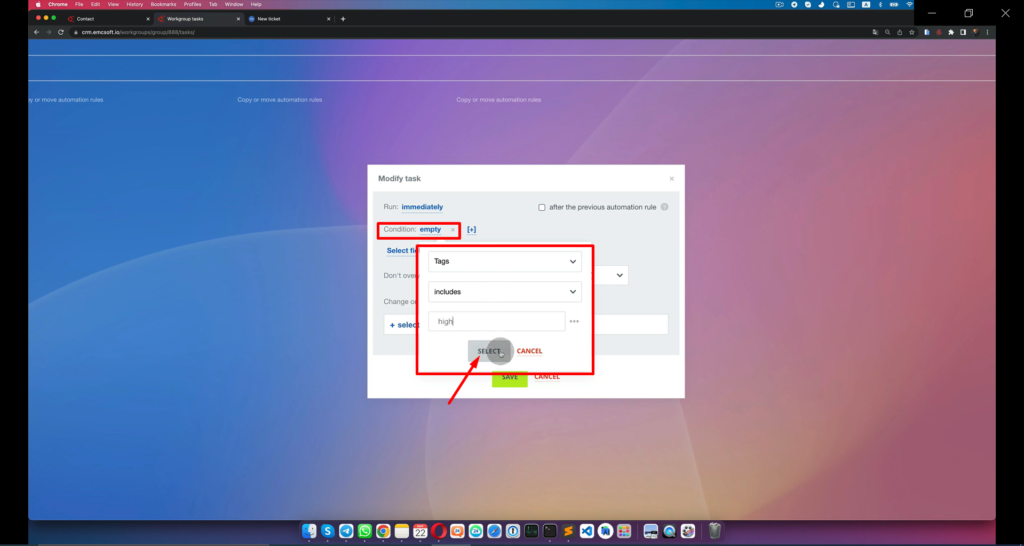
18. On the condition field select “Tags, Includes and High” then hit “Select”
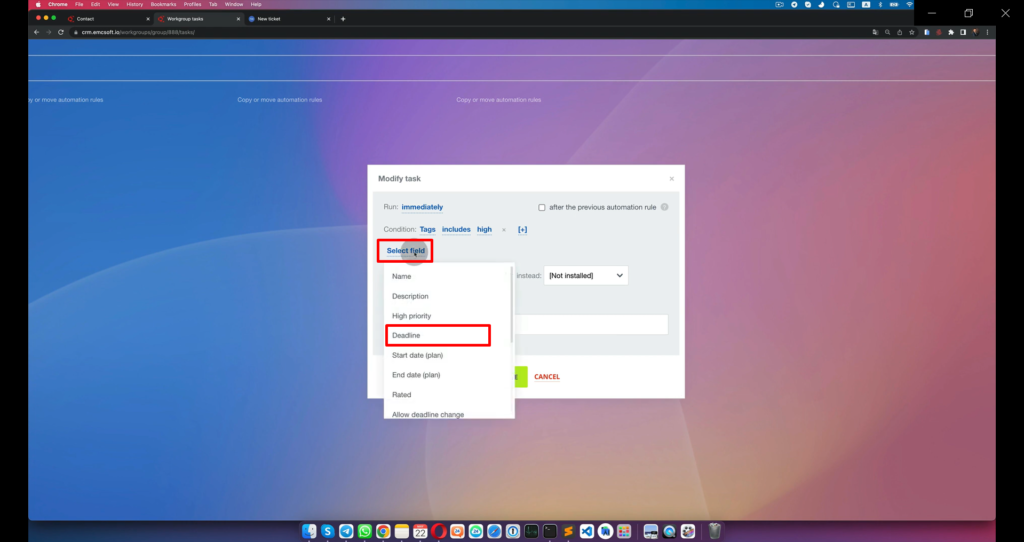
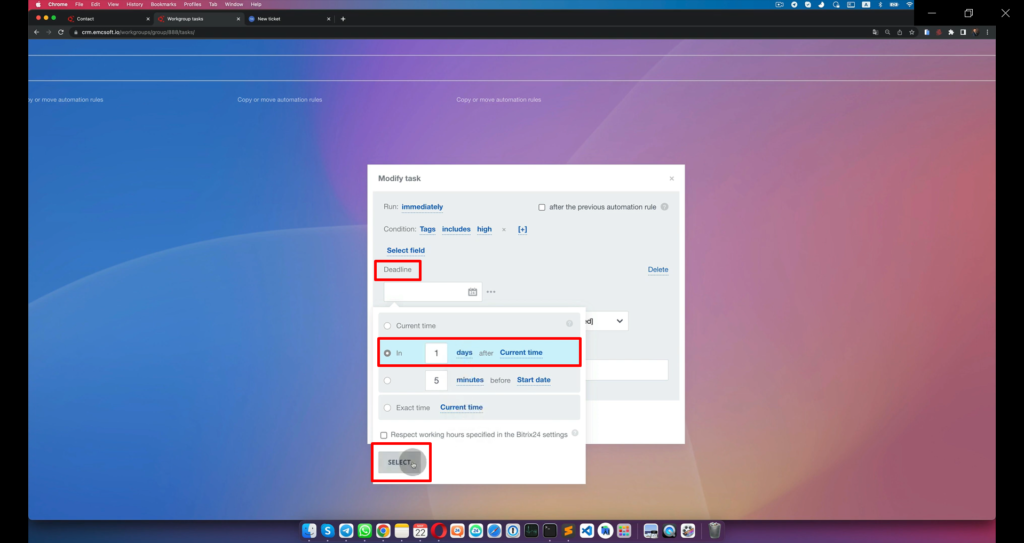
19. On the “Select Field” click “Deadline”.
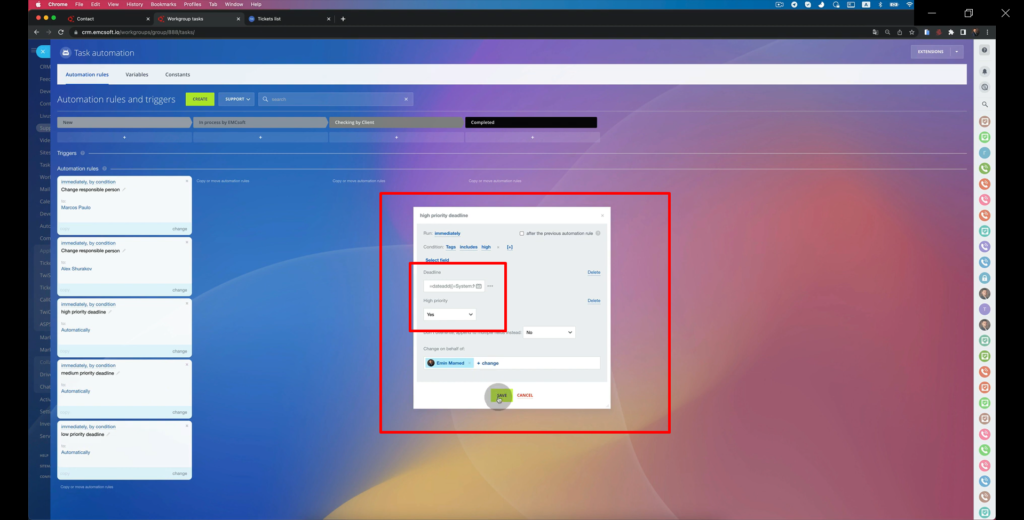
20. Click “Deadline” and select “In 1 days” for High-Priority. Then click “Select”. Repeat the same procedure for Medium Priority, set it to “In 3 days”. For Low Priority, set it to “In 5 days”.
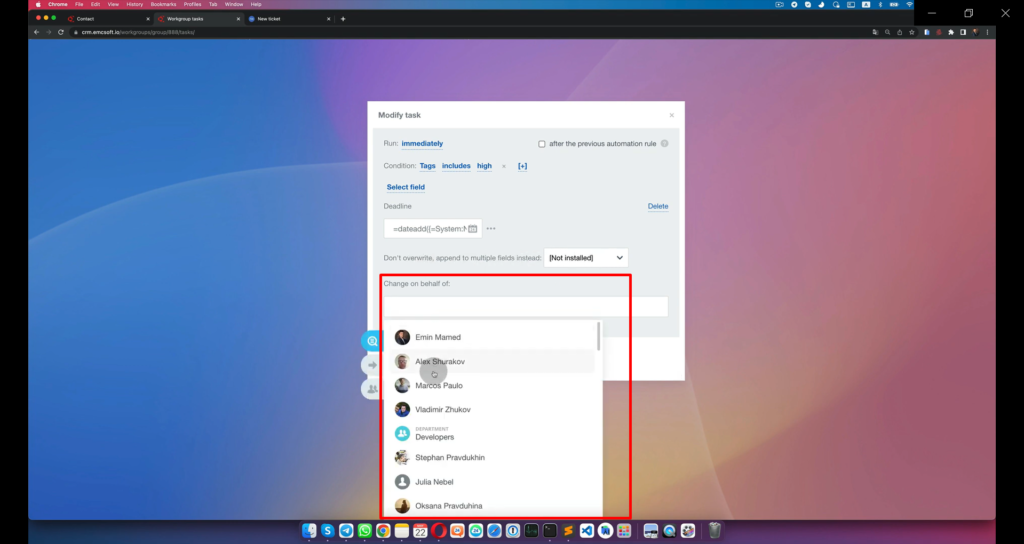
21. Then “Change in behalf of”. Then click “Save”.
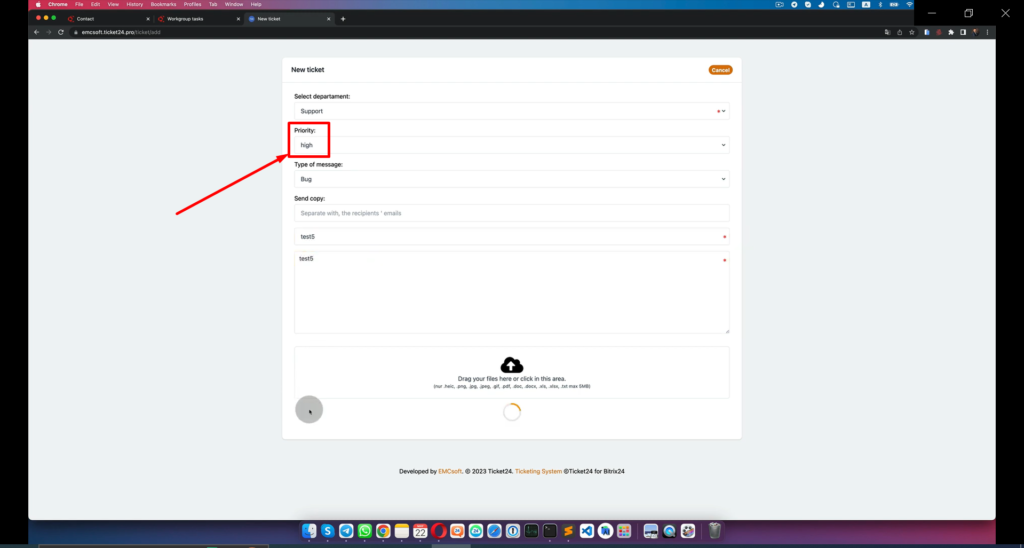
22. Do a test and create a new ticket. Selecting priority as “High”. Repeat the same procedure with “Medium” and “Low” priority.
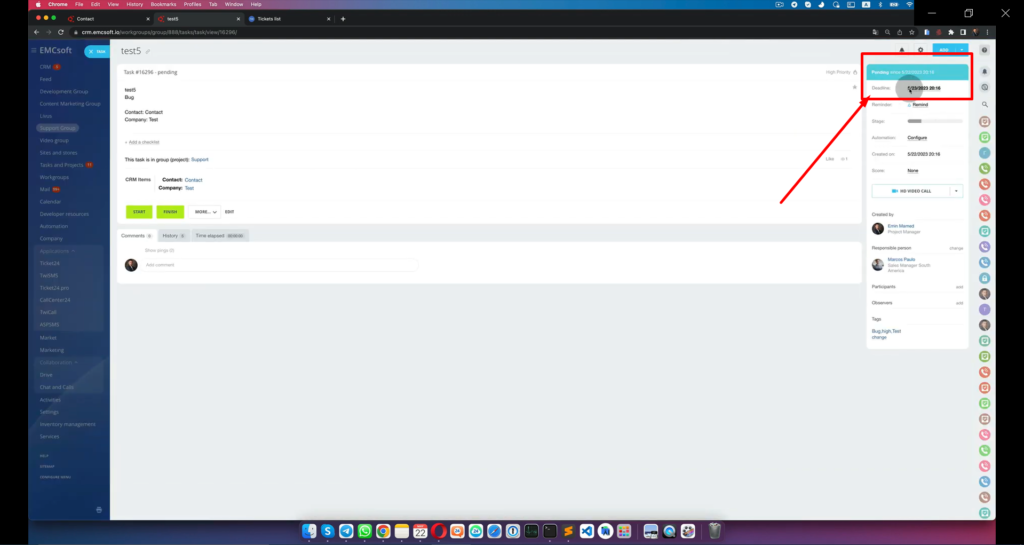
23. Check if it has the right deadliner. High-Priority = 1Day.
24. To put a fire sign, modify one of the robots, set-up the deadline and choose “Yes” on the “High Priority” dropdown. Then hit “Save”.
25. Create a ticket to test it. And now, you can see the “fire” sign.
26. To receive a notification once somebody created a ticket: Click “Automation rules”
27. Click “Create”

28. Select “For Employee” and “Add Notification”
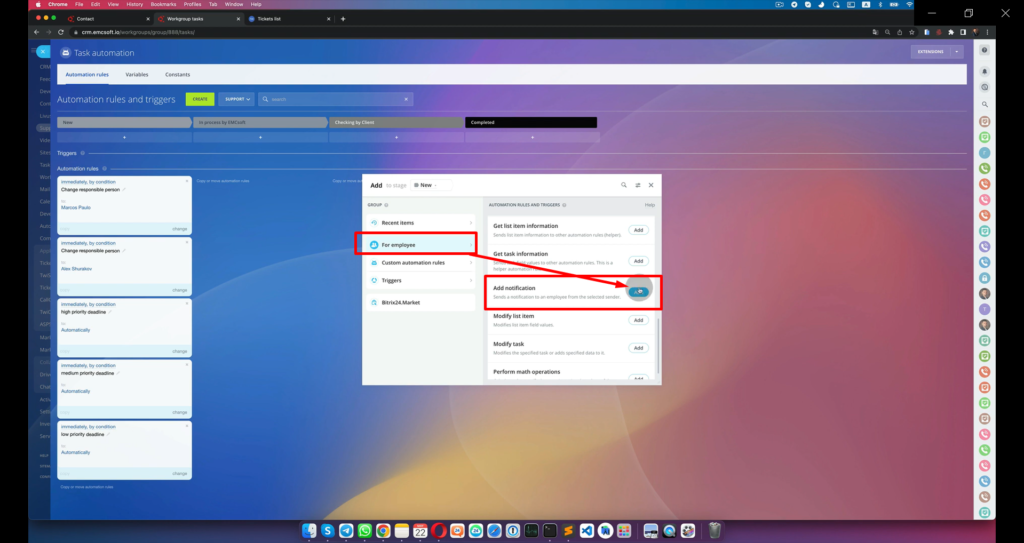
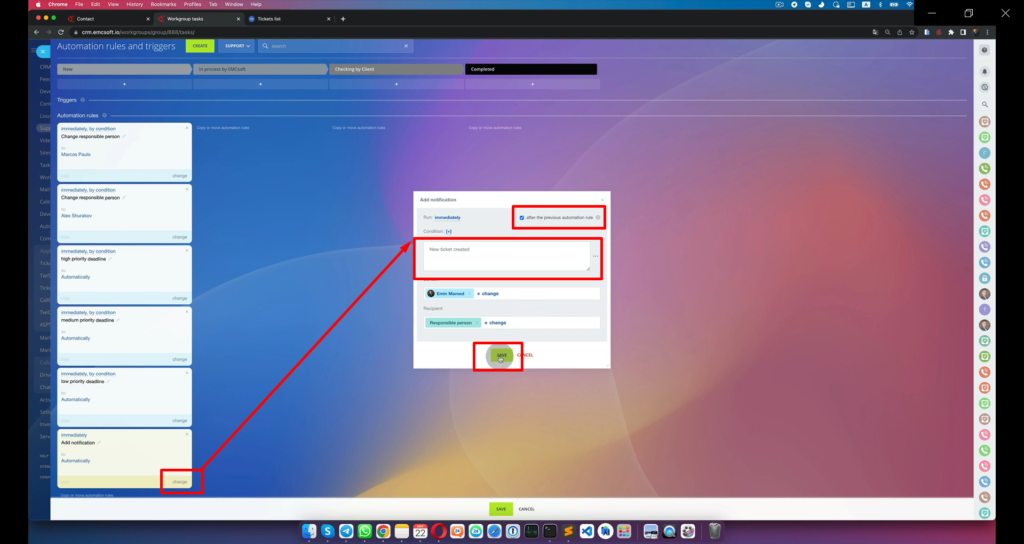
29. Click “Change” then put the notification you want to see on the message box then select the “Sender”, then tick the small box that says “after the previous automation rule”. Then click “Save”
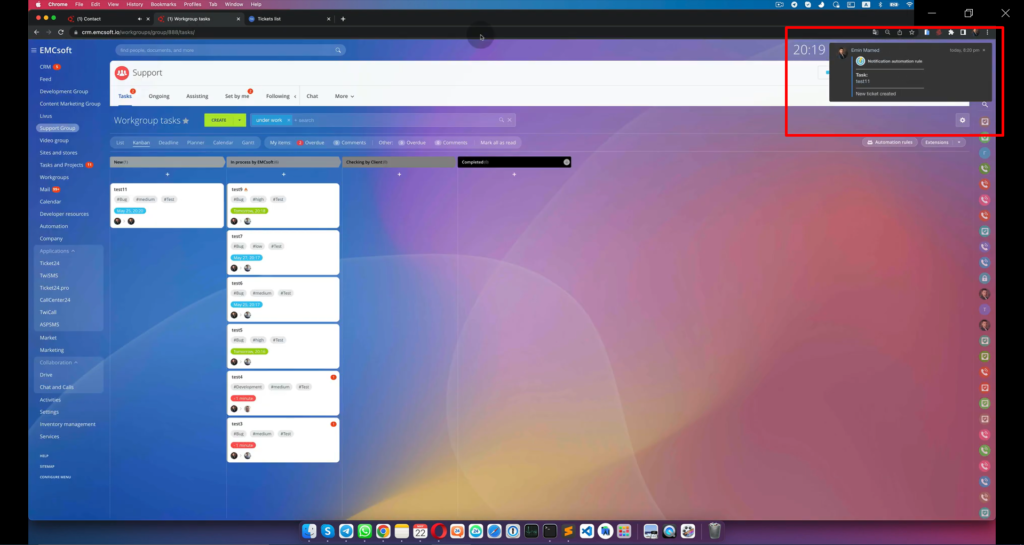
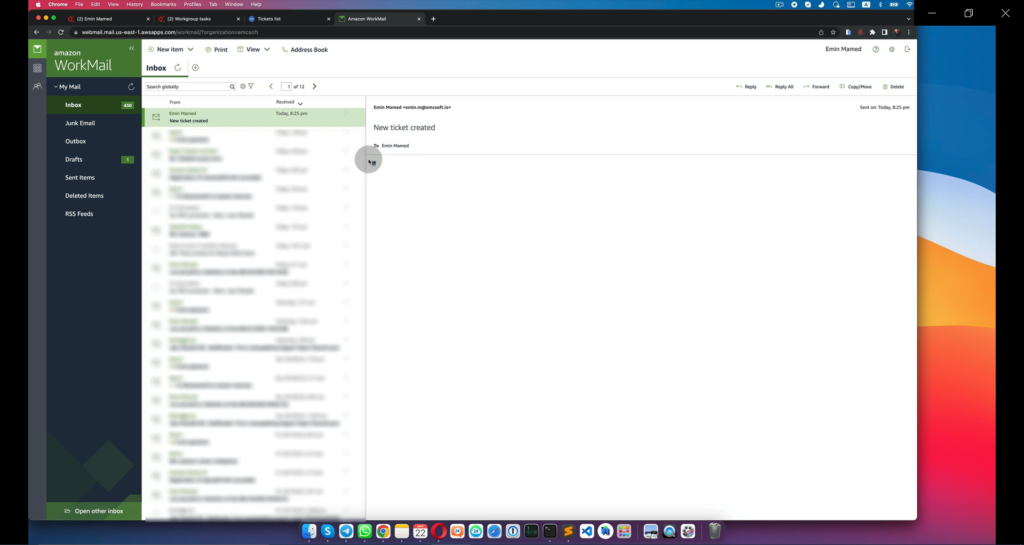
30. Create a new ticket to check if the notification is working well.

31. You should receive a notification once the ticket has been sent.
To add a notification by email
32. Create a new robot, then select “For Employees” then choose “Send email”.
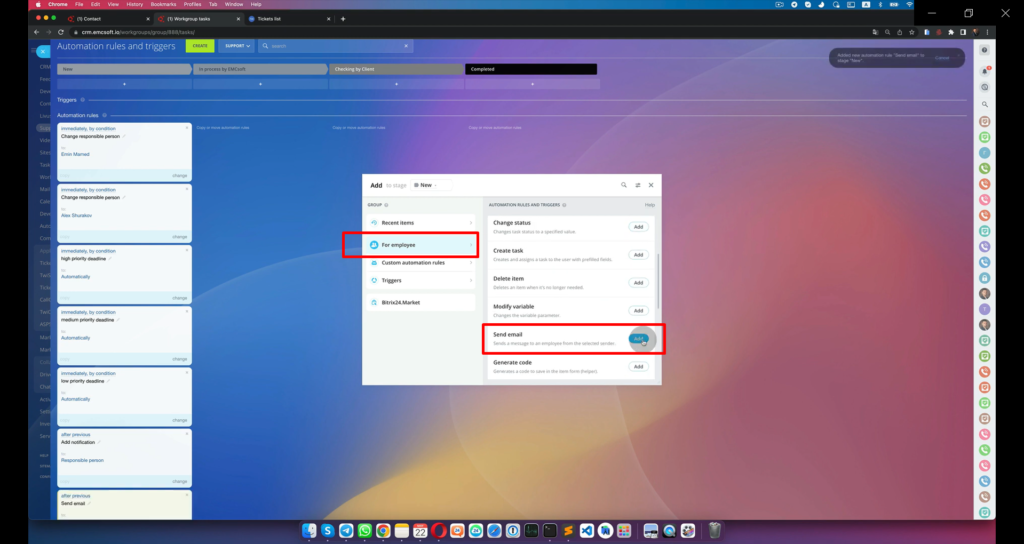
33. Click “Change” then modify according to the changes you like. Then “Save”
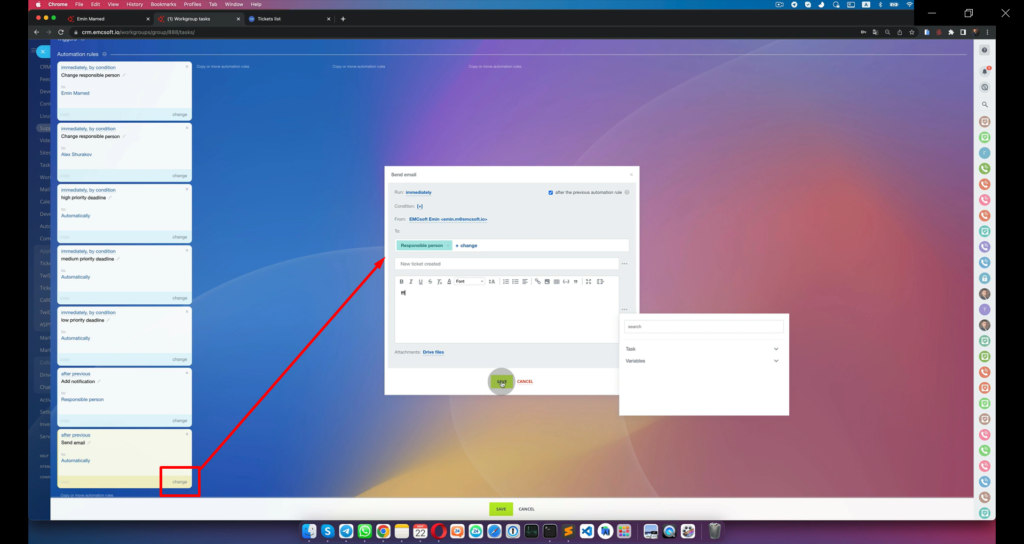
34. Create a new ticket to test.
35. You should receive an email if the trigger is working properly.
To move the ticket to the next stages:
36. Click “Automation rules”.
37. Click “Create” then select “For Employee” then choose “Change Stage”.
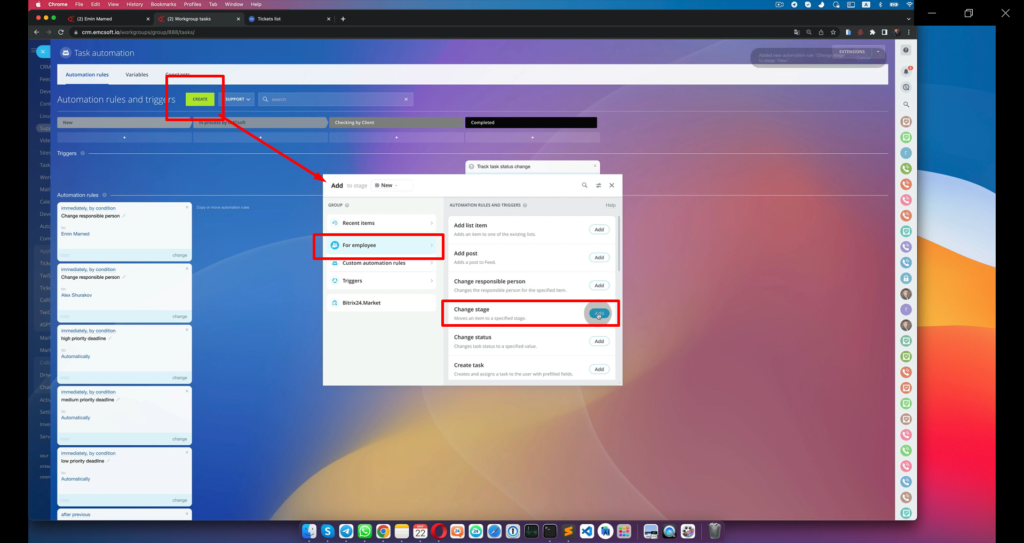
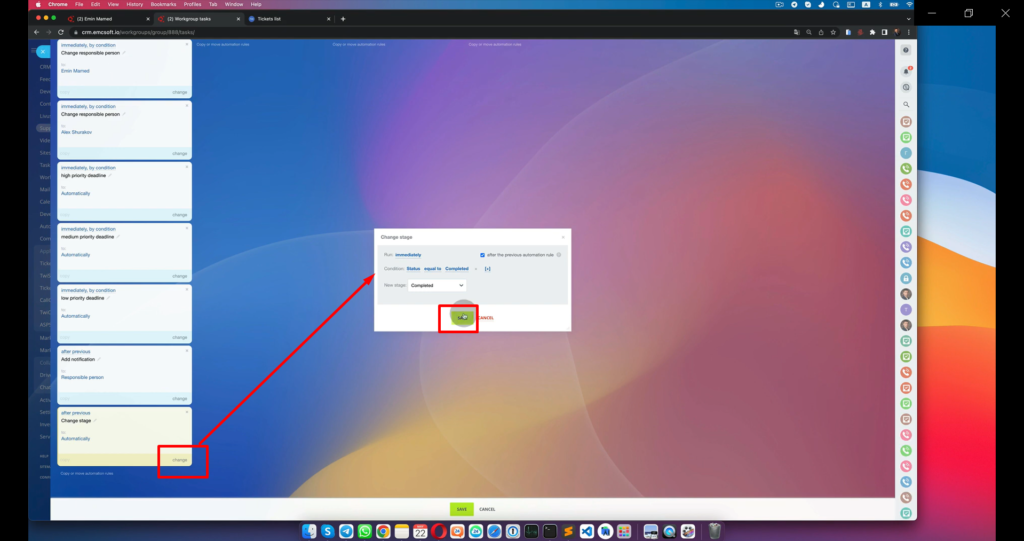
38. Click “Change” and set the conditions to “Status, Equal to, Completed”. On the “New Stage” choose “Completed” in the dropdown. Then click “Save”.
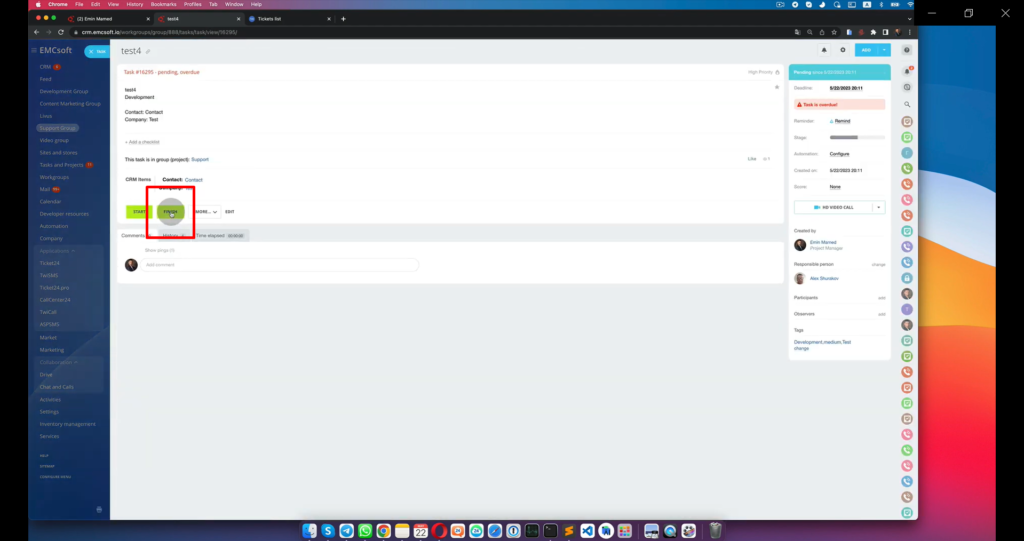
39. To test the robot, click “Finish”.

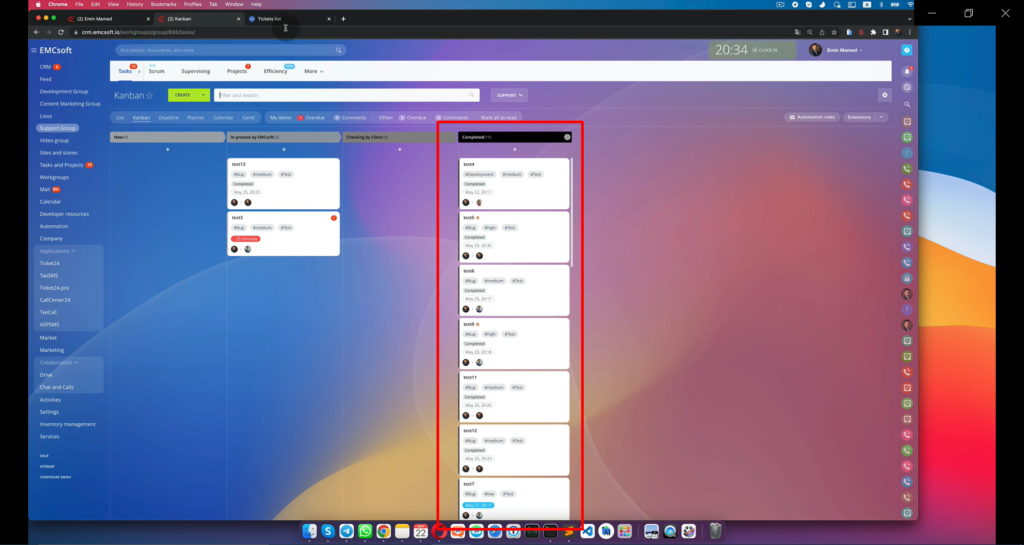
40. It should go to the last stage.
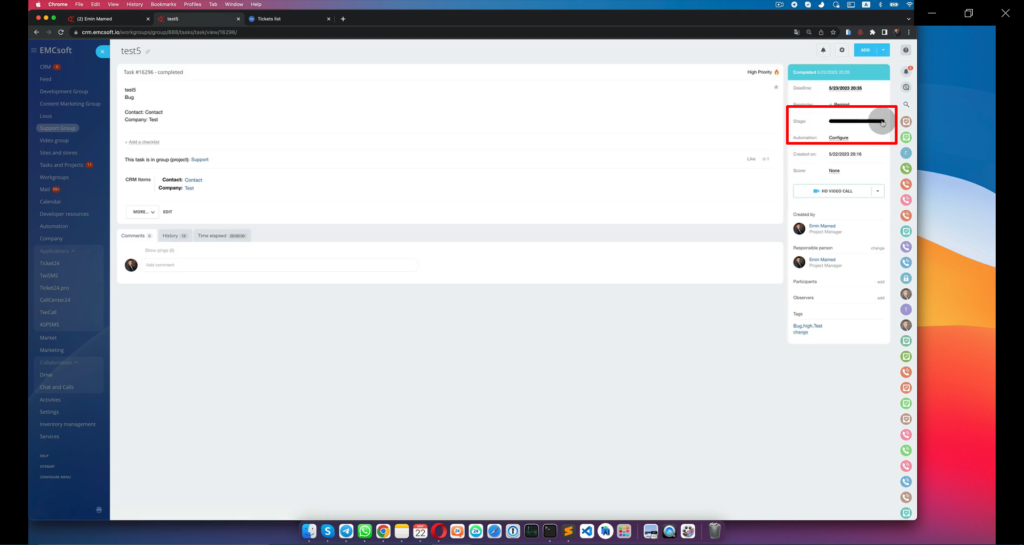
41. Go to “Automation Rules”
42. Copy the robot to other stages.
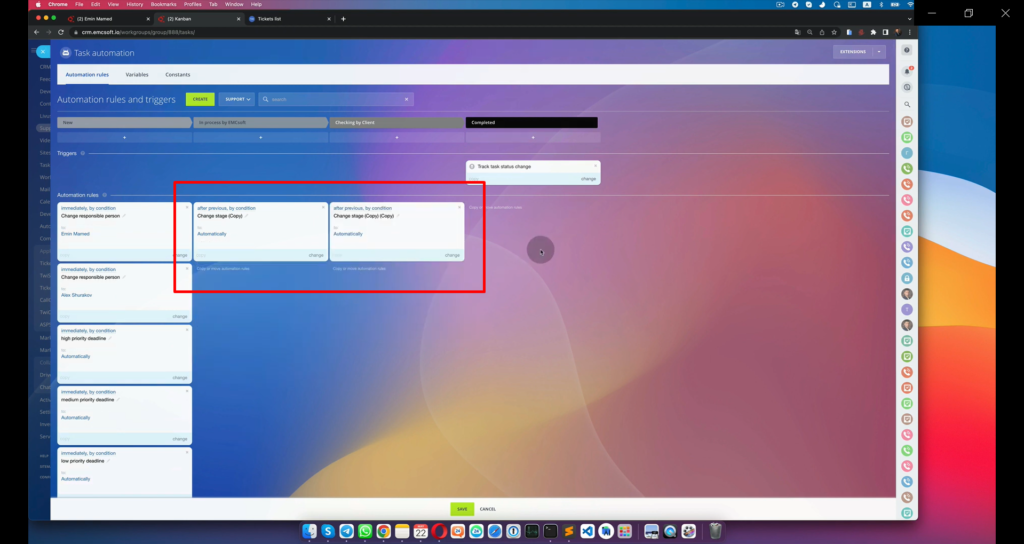
43. Test the task to see it if’s working. Click “Finish”.
44. All are completed.
“You can also watch this video on Youtube”