| 3854 Views | Amin

Office 365 – a major office suite all over the world
As of May 2021, Microsoft’s Office 365 controlled around 47.5 percent of the market share for major office suite technologies worldwide (https://www.statista.com/statistics/983299/worldwide-market-share-of-office-productivity-software/). Office Word, Excel and Powerpoint are one of the most popular tools for office work.
So, there is a huge probability that your customers and partners are using Word or Excel documents in communication with you. And every time you exchange documents with them, you must switch between several windows or panels.
This is also relevant for company internal communications. Some documents should be revised by the different departments before sending to customer. For example, sales manager can negotiate special conditions with a client, then confirm it with supervisor and check an agreement with the legal department.
We can see that there is a need for multifunctional CRM system that can provide seamless work experience with one of the most popular office work applications.
Cloud drives popularity
There is no doubt that cloud services are now a necessity, not just a need or option. When the pandemic began in March 2020, the work landscape changed dramatically. Work from home became the new normal. Companies all over the world started to permanently use various tools for seamless remote work. Cloud services are one of them. Cloud work functions can boost competitiveness by reducing costs, enhancing flexibility and elasticity, and maximizing resource use. In addition to this, data saved with cloud service providers may likely be safer than the information your employees store in their computers’ hard drive.
Office 365 is built as a cloud-first application; although desktop versions of its apps are available with certain plans, it is designed to be used online.
Office 365 & Bitrix24
Bitrix24 provides an extended function including integration with Office 365. In a situation when employees are using drive storages and have work accounts in Office 365 this integration provides a seamless document viewing and editing. No longer need to download it from the file storage, and then load it back instead of the existing one.
How it can benefit your business?
This integration allows to open Office 365 documents right in Bitrix24 CRM system. Therefore, company can improve its efficiency and productivity across sales, service, marketing and social.
One way of improving efficiency is dealing with a risk of losing a proper version of the document. It is a common situation when documents are sent and resent in regular e-mail or WhatsApp correspondence between company departments. Office 365 synchronizes the data, can show new, edited or deleted documents, and provides access to up-to-date information.
As a result, using the Bitrix24 and Office 365 integration provides your CRM system users with one of the most convenient and intuitive work scenarios: they open a document, make corrections and save it directly in system portal.
For sales one inevitable advantage is that you can easily connect your clients and upgrade customer experience, making is rapid and consistent. In communication with customers one of the most important factors is speed. Speed of answering and providing the information required in order to push him to decision making. Sales managers that can promptly connect other employees have more chances to satisfy client’s demand and close the deal.
Let’s see a detailed instruction how to integrate Office 365 together with Bitrix24.
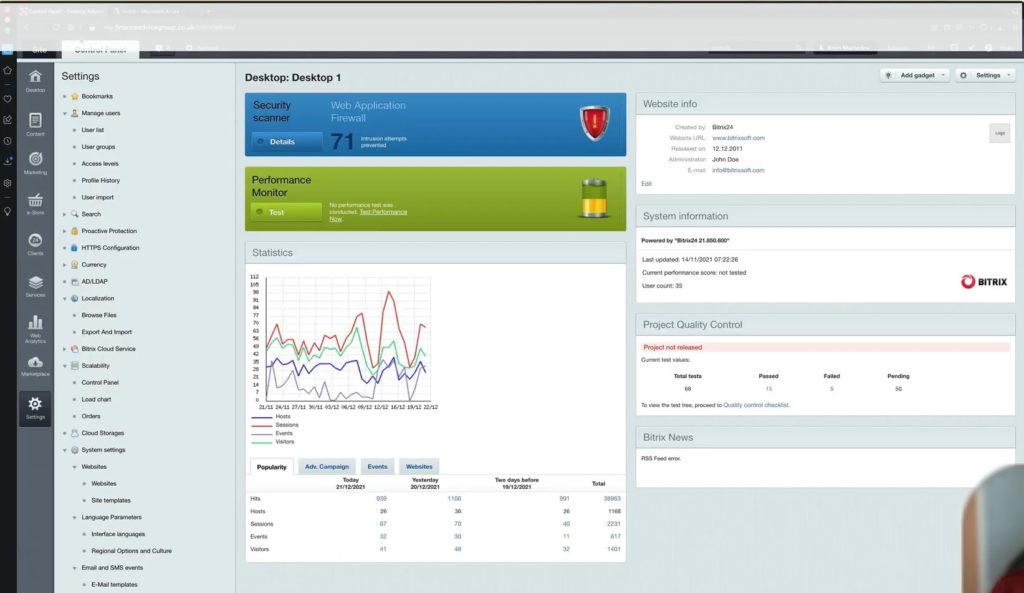
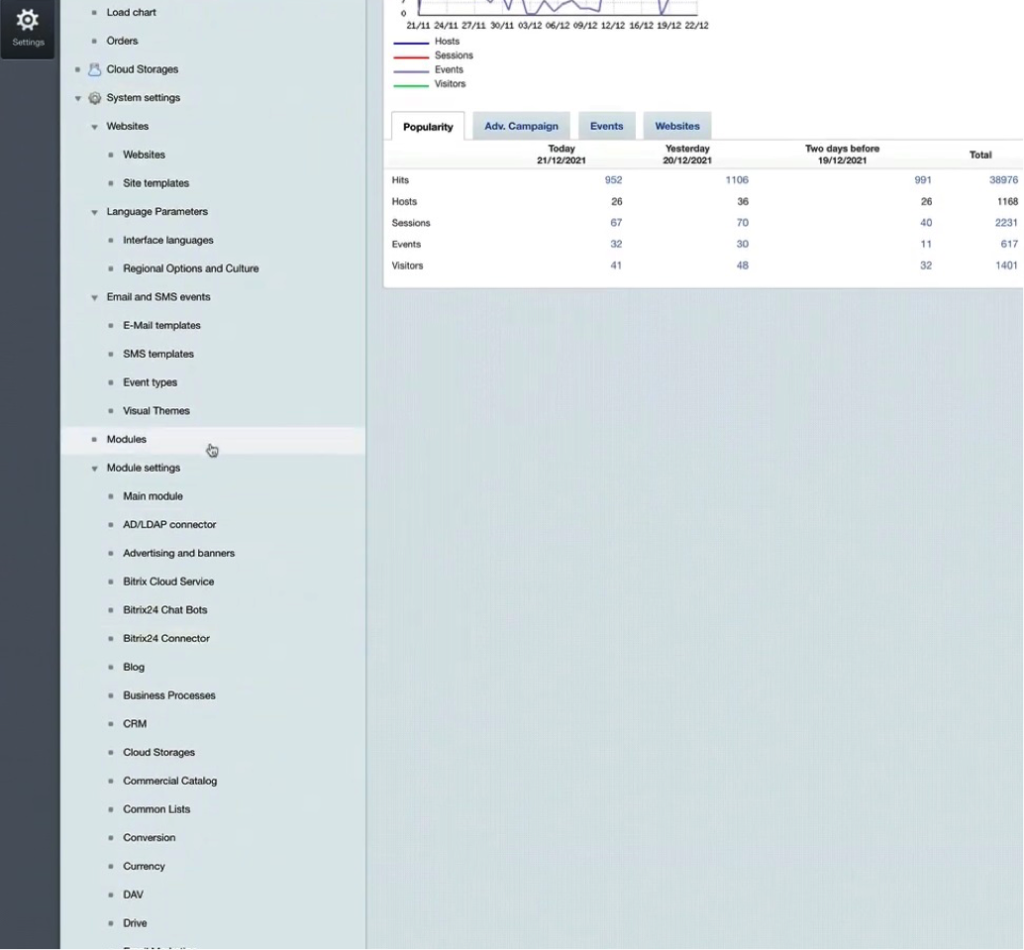
1. First of all, we go to Admin panel of Bitrix, then find Settings – Module settings
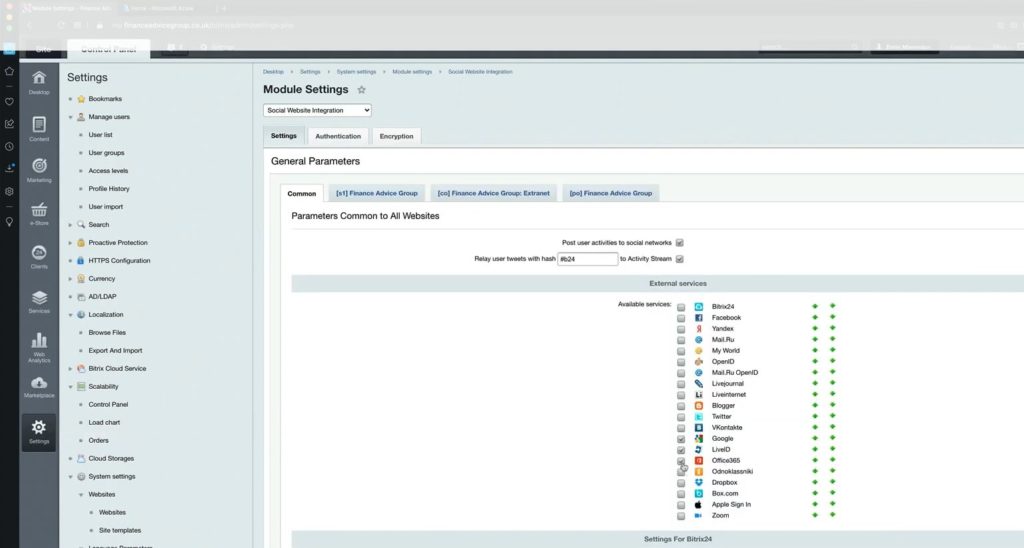
2. Scroll down for Module settings – Social website integration

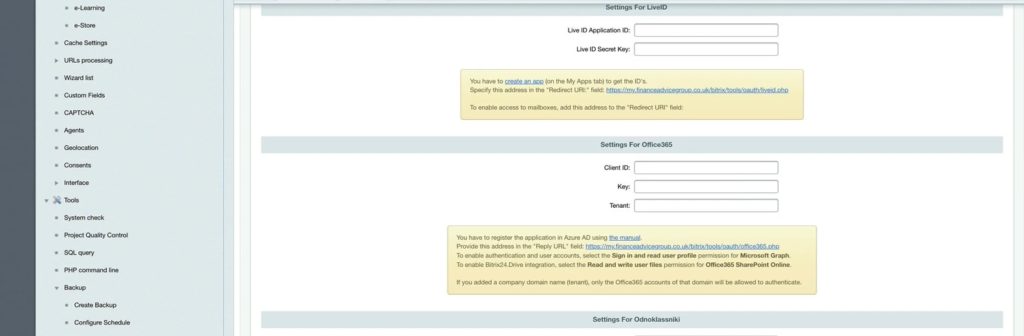
3. Tick Office 365 here and go down to Settings for Office 365
4. Hereinafter we will come back several times to this field in Bitrix24
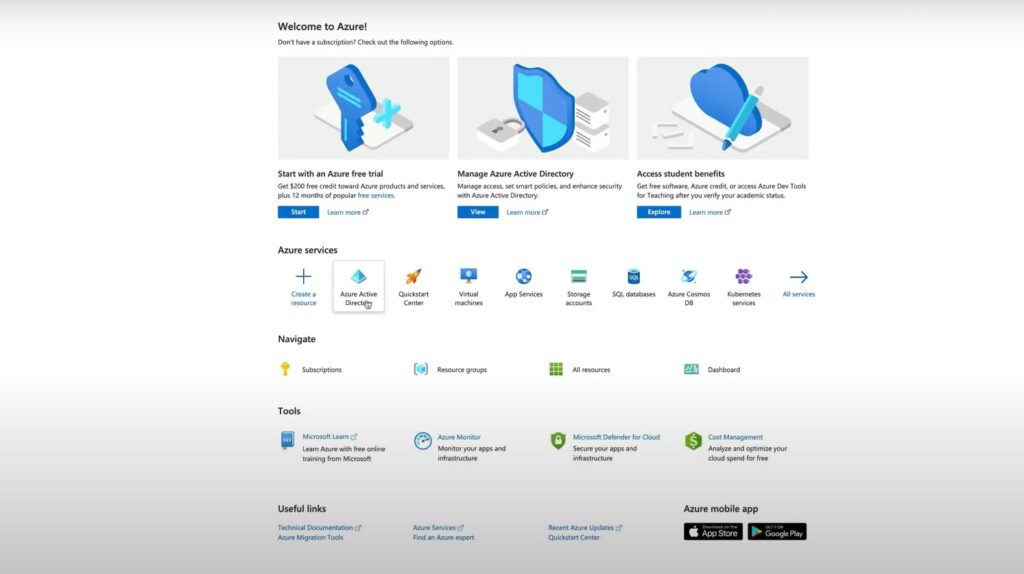
5. Then go to Microsoft Azure and click Azure Active directory
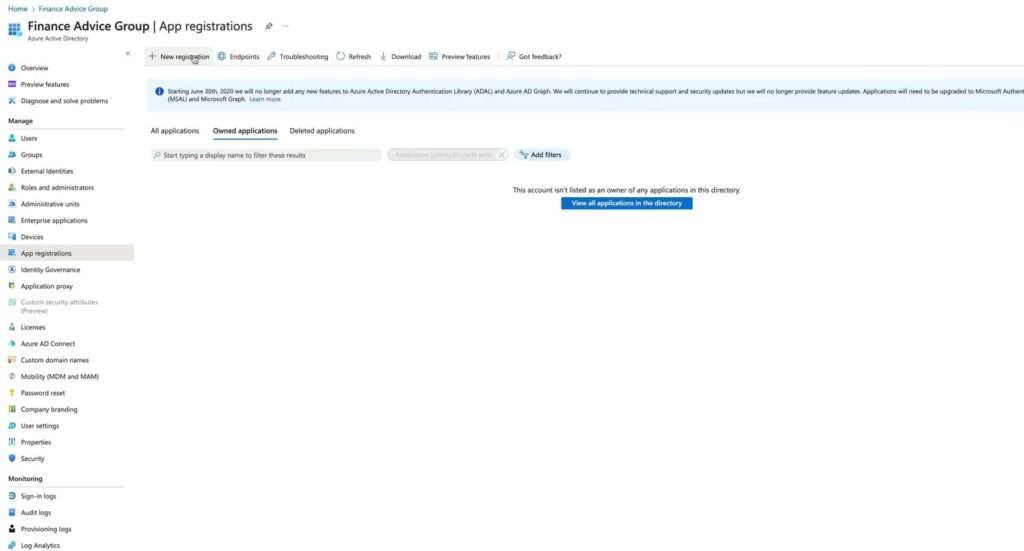
6. Then go to App registrations and add New registration
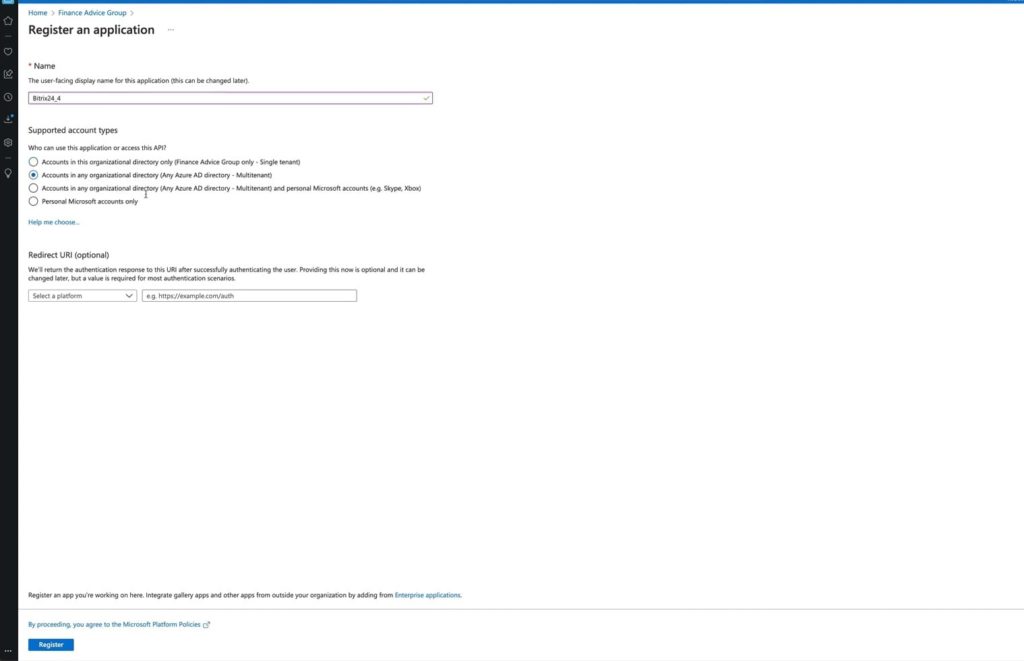
7. In window opened give a name of app – in this example we type Bitrix24_4. Below select Accounts in organizational directory (Any Azure AD directory – Multitenant).To fill Redirect URL field, we have to go back to Bitrix24 panel.
8. Here we should copy link provided as shown in picture
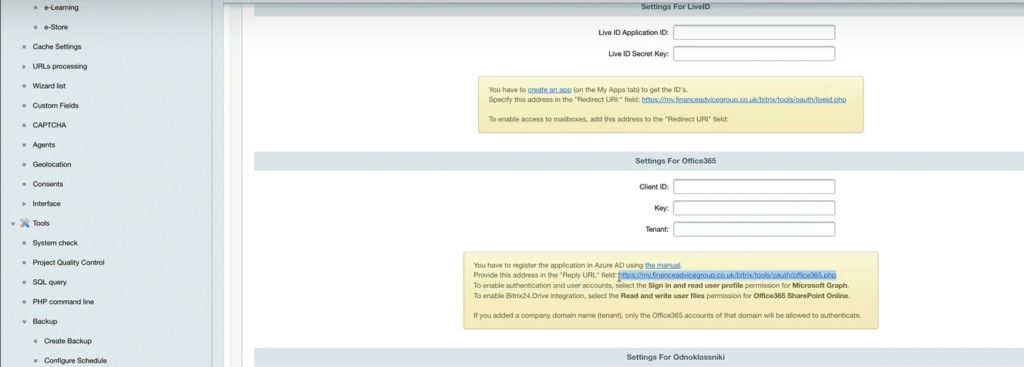
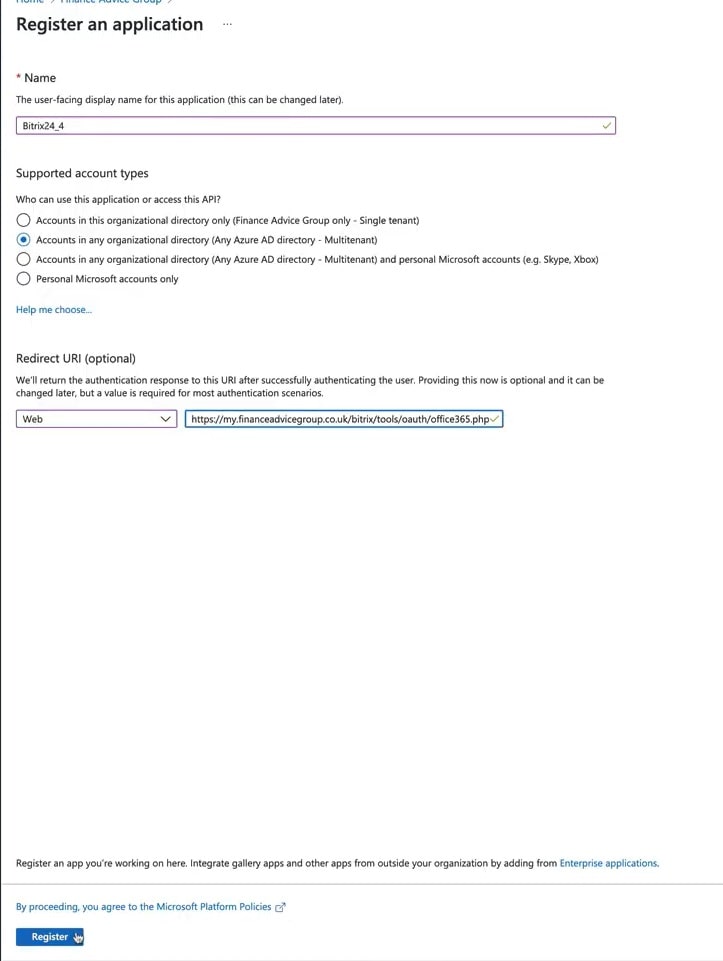
9. Return back to Azure panel and in Redirect URL field choose Web and insert that link copied before.Click Register.
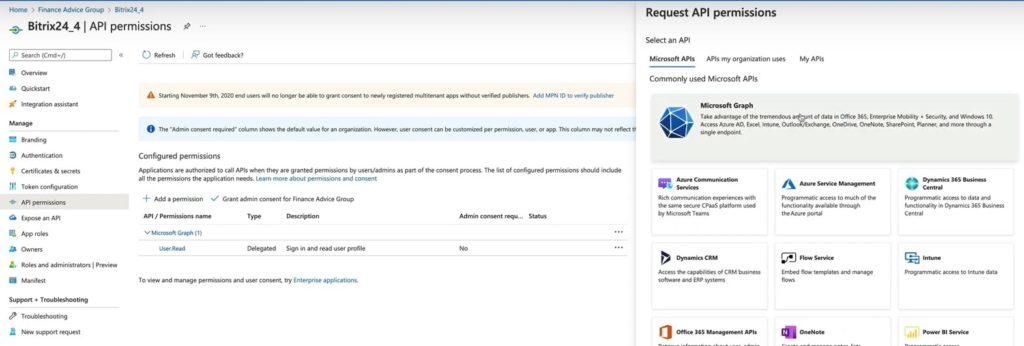
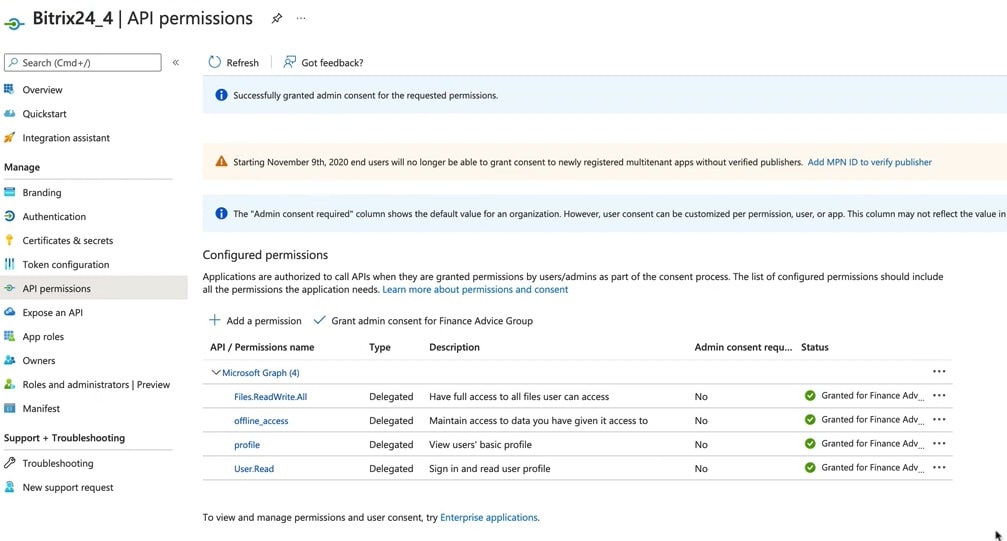
10. We registered our app. Now in Azure board we choose API permissions and Add a permission. In window opened at the right click Microsoft Graph.
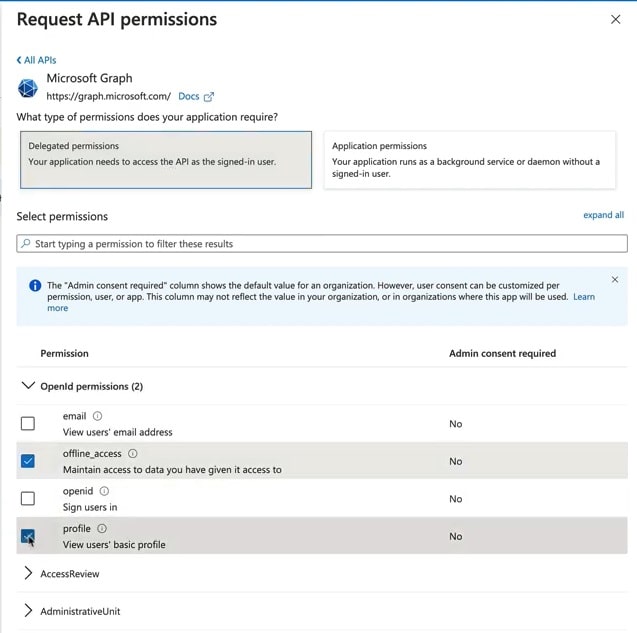
11. Choose Delegated permissions. In OpenId permissions below check two marks – Offline_access and Profile.
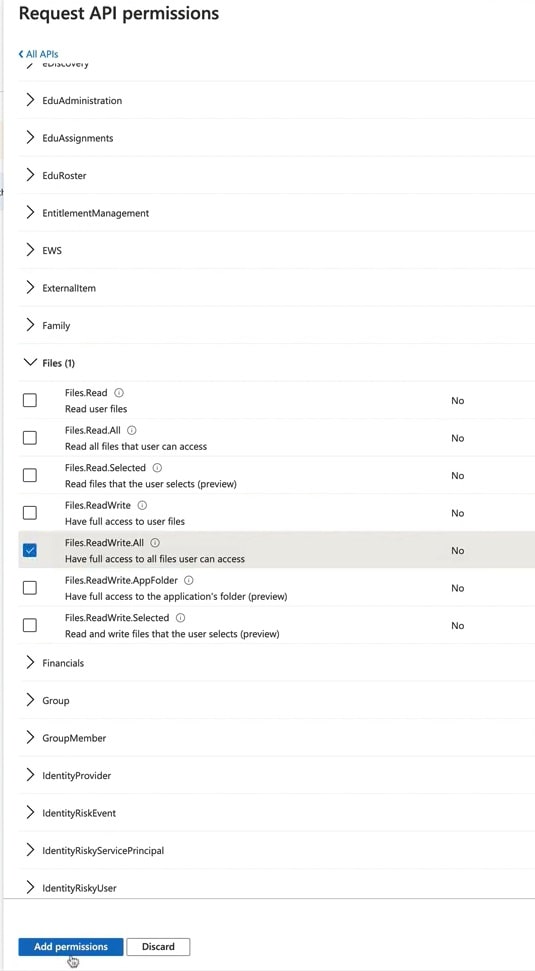
12. Scroll down to Files and select Files.ReadWrite.All to have full access to all files user can access. Click Add permissions.
13. After we have to check Grant admin consent for Company. Confirm Yes in opened window.
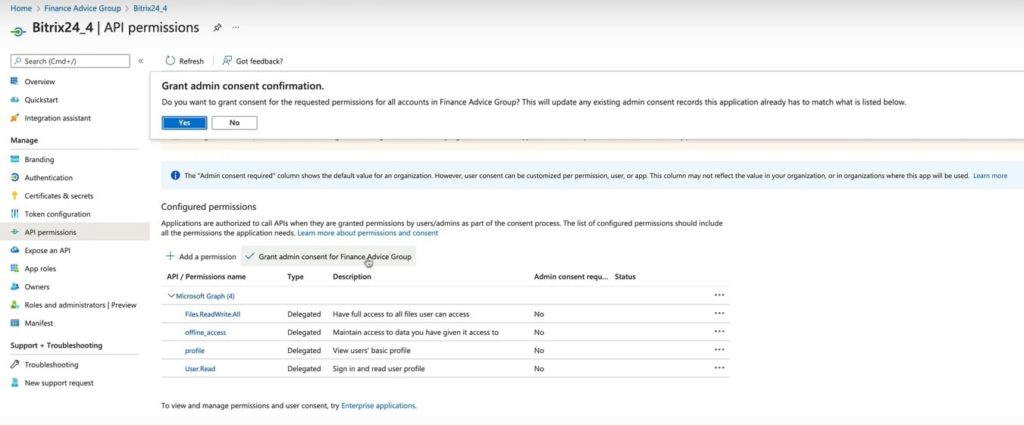
14. As a result, we will see granted permissions with green check marks.
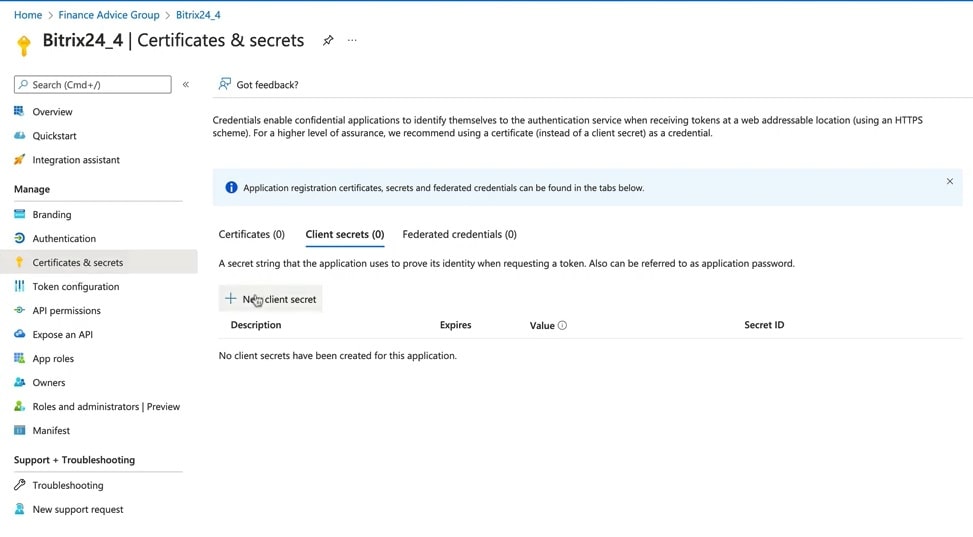
15. Then in left menu go to Certificates & secrets. Then add a New client secret.
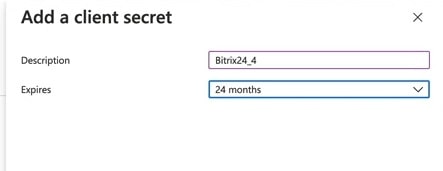
16. Give a name in Description field and choose maximum months in Expires field. Select Add.
17. Then we have to copy an emerged value.
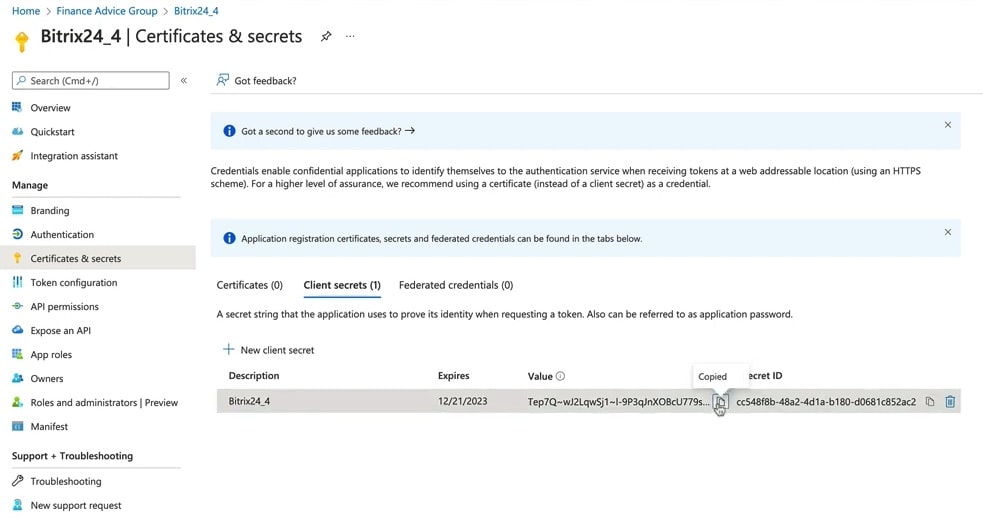
18. After we go back to Bitrix panel and insert that copy in Key field.

19. Then go back to Azure, click Overview and copy Application (client) ID
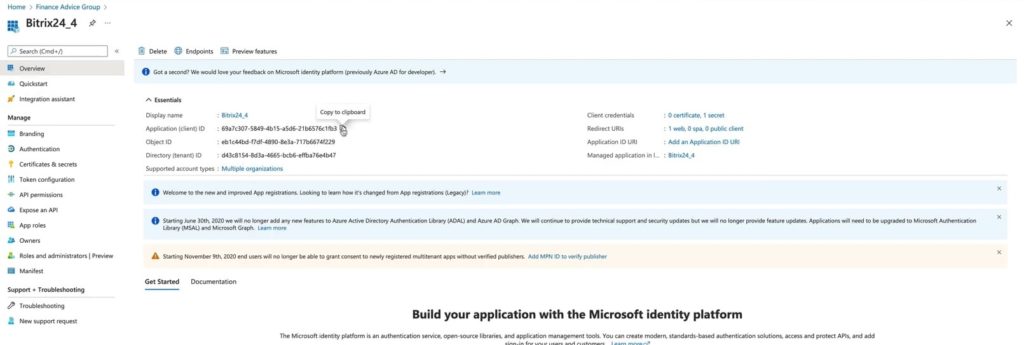
20. We will put that ID in Client ID in Bitrix settings. That’s it – we integrated Office 365 in Bitrix24.

21. To verify it we go to dashboard and select Drive and try to open any file.
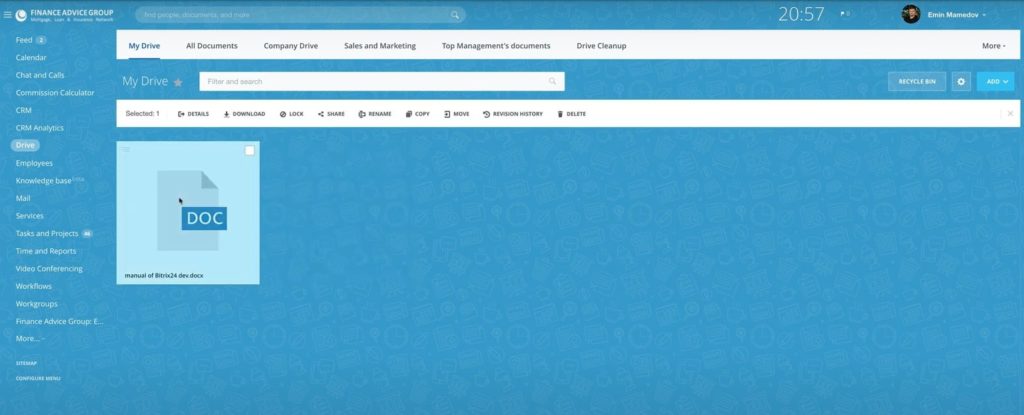
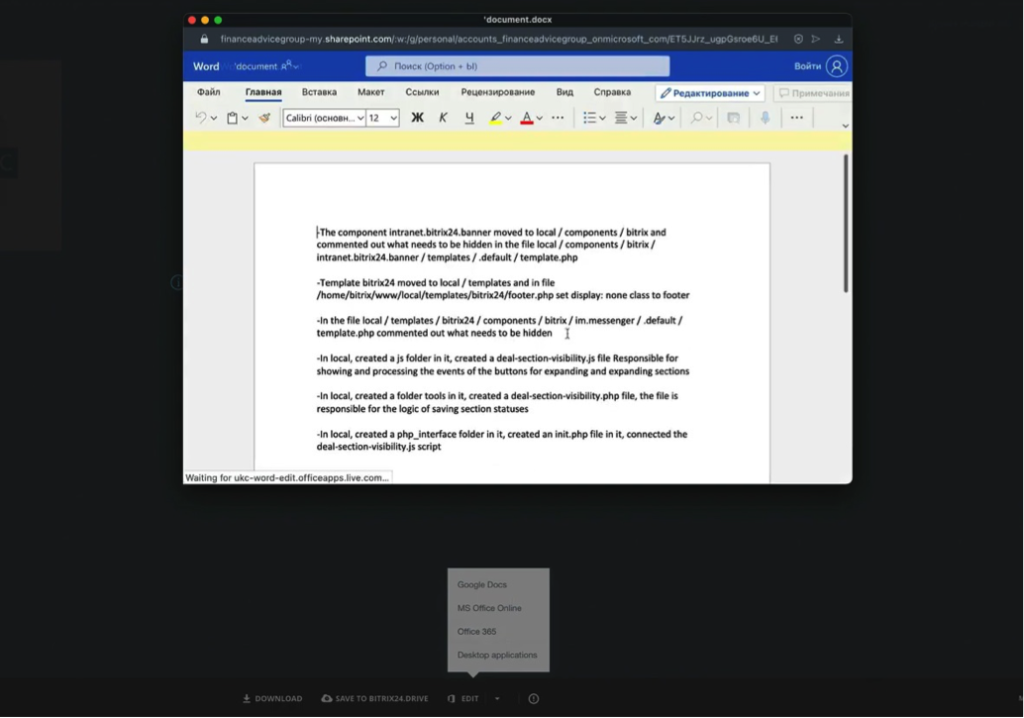
22. Below in Edit choose Office 365. Done! Now you can view and edit Office 365 document right in Bitrix24 panel.
To make opening documents by default by Office 365 we should do the following steps.
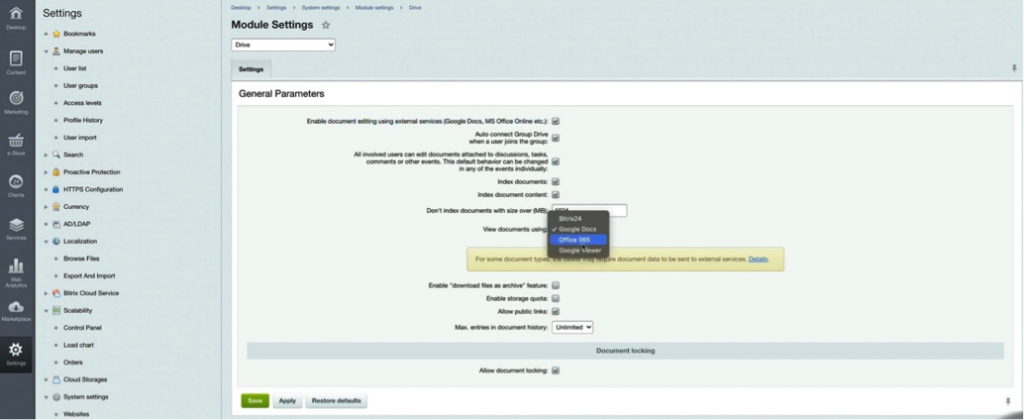
A. Go to Admin panel – Administration settings

B. In settings scroll down to Module settings and find Drive.
C. Then select Enable document editing using external services. Below in View documents using select Office 365. Click Save. To check how it works go back to the dashboard and try to open document again. It should open automatically.
“You can also watch the video of this tutorial below on Youtube.”