| 4399 Views | Amin

Bitrix development methods
As we all know, one of the best advantages of Bitrix CRM is freedom of customizing. Self-hosted Bitrix is an open code CRM with no crypted files. That means Bitrix provides access to the source code for customization and development purposes. This allows to extend the functionality of the CMS or create custom components and modules.
Using various tools users can obtain a system tailored to individual needs of specific company.
There are several ways to perform development.
1. Using the Visual Editor, a built-in tool that allows users to create and edit content on their website. The Visual Editor is integrated with the Bitrix CMS, making it easy to manage content on a website. It is a useful tool for non-technical users who want to manage their website’s content without having to rely on a web developer. However, Visual Editor has a limited control over code and limited design options. Therefore, this is not quite suitable tool for skilled developers.
2. Creating a new component manually. To do this, developer creates a new directory in the site components folder, creates the necessary component template files and a class file that will process the data. This method requires knowledge of the PHP programming language.
This is the way we work in EMCSoft. We will observe this process in detail below.
3. Using Bitrix D7 PHP Framework, a platform developed by Bitrix for the creation and management of various projects. Despite of popularity, framework users complain about complexity and limited documentation.
4. Using ready solutions from Bitrix Marketplace. There are plenty apps there, some of them are for free while other are paid-for. Obviously, you can find useful applications but not specifically tailored to your company.
How we start development in Bitrix
Briefly speaking, we connect to the server and add SSH keys to the authorized keys in self-hosted Bitrix. We add SSH keys of developing team: admin, developers itself and project manager, as in our example. After completing these steps, team members should be able to use their private keys to log in to the server without entering a password.
Then we will create “local” folder and do development there using code editor program. In our case it’s a Visual Studio Code.
As a result, these components that are not included in the standard set of Bitrix components will add more functionality to our client’s website or administrative panel.
Here, using local folder is a crucial moment in development.
About local folder
The local folder in self-hosted Bitrix is one of the main directories of the project and contains custom components. This is the place where components developed developers are contained.
This folder stores user files and settings that are not updated when the Bitrix core is updated. This allows portal to retain changes even when the system is updated.
The local folder may also contain web analytics settings, scripts and styles, customized website templates, and other user files.
Two portals of Bitrix on-premise
As you might know, in self-hosted Bitrix version two keys are provided for the two portals that can be created within the system. Usually, one portal is used for development and testing, while other one – for live running CRM.
The best way here is to perform development in Bitrix development portal first, test it and then move components to the live portal.
So, let’s see how we start development on freshly installed self-hosted Bitrix.
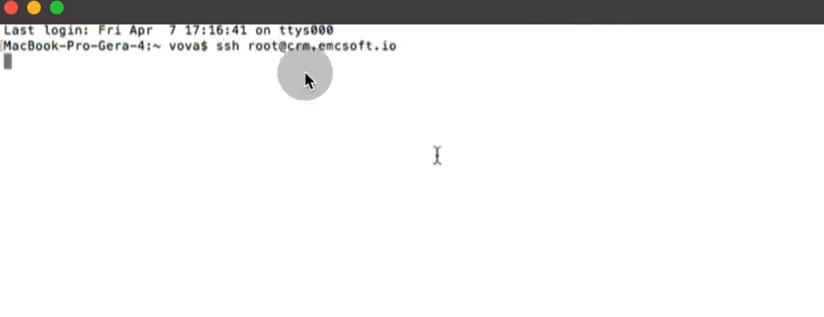
1. First of all, we connect to the server where our portal is installed via SSH.
2. Then we go into a hidden folder and open “authorized keys” file.
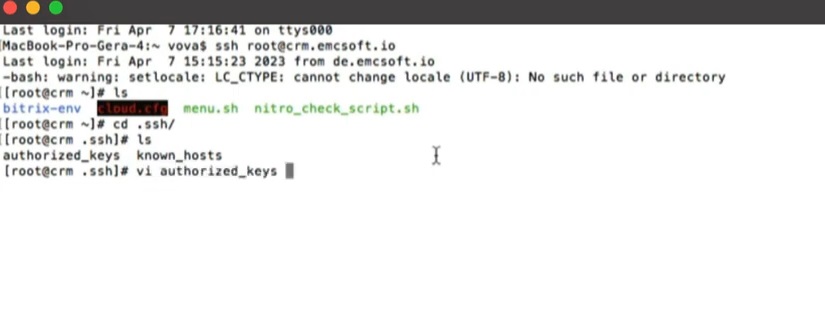
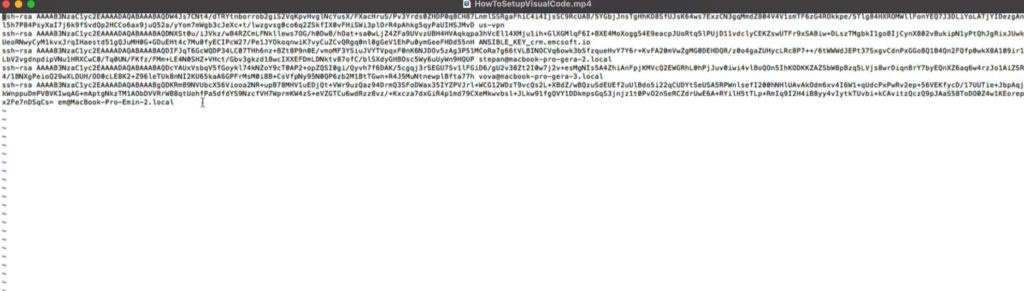
3. In that file we put open SSH keys of those who going to work in server as developer. Usually we put admin, developer and project manager keys.
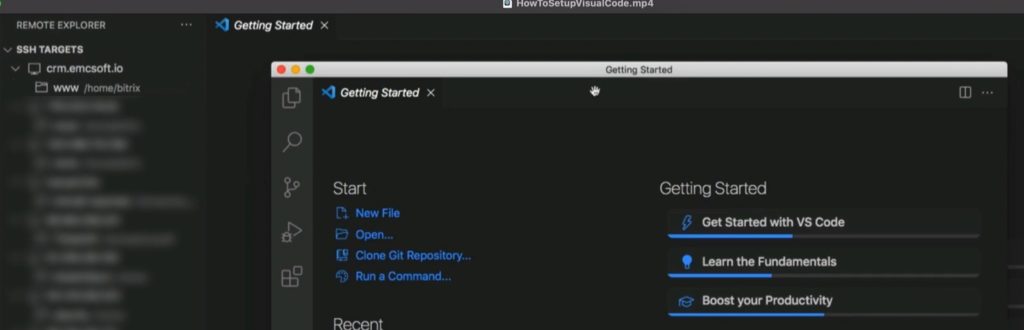
4. Once it’s done, we open development environment, in our case it’s Visual Code (VS Code).
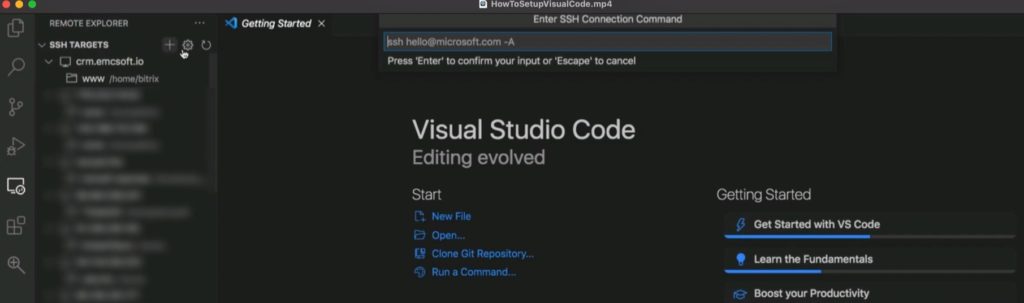
5. There we add a new remote location.
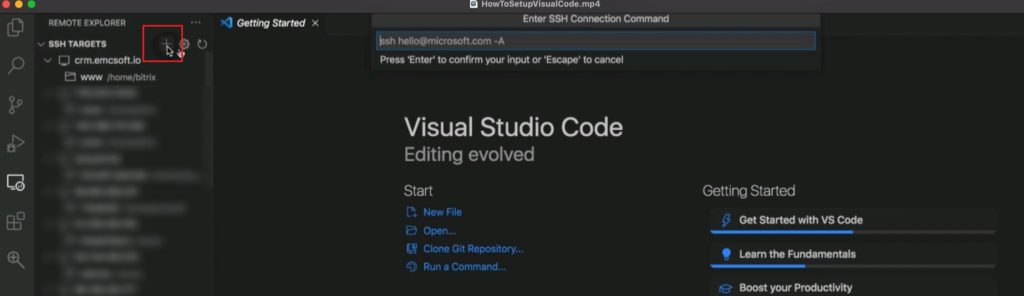
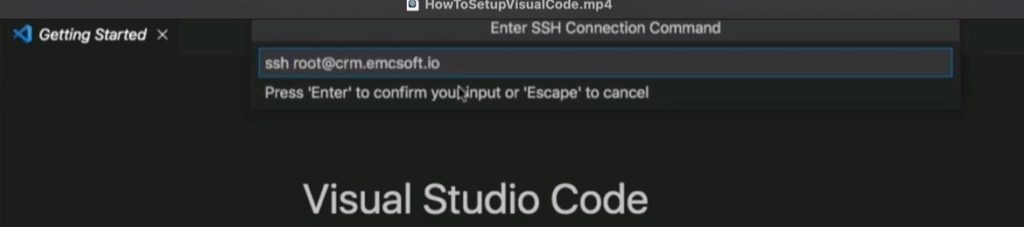
6. Then, Visual Code asks for SSH connection command. We enter the same command as before: ssh root@crm.emcsoft.io.
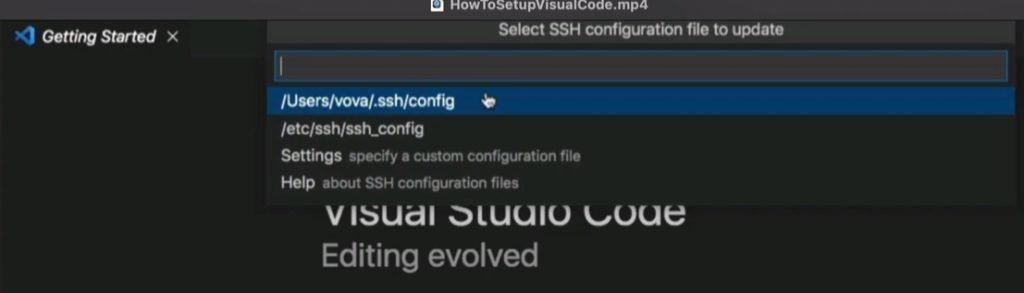
7. Then we select a file where this connection will be saved. Usually it’s installed in /config file.
8. Right after that a new connection will emerge in left side panel. Click on the plus folder icon at the right side of that connection.
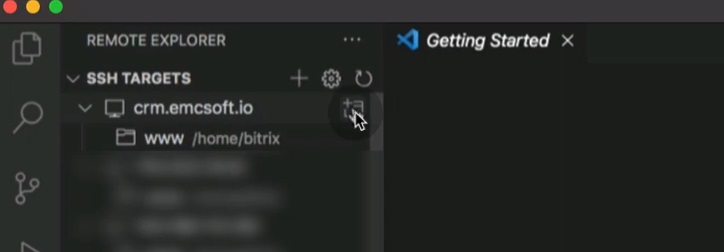
9. A new visual code window will open.
10. Here we click Open Folder.
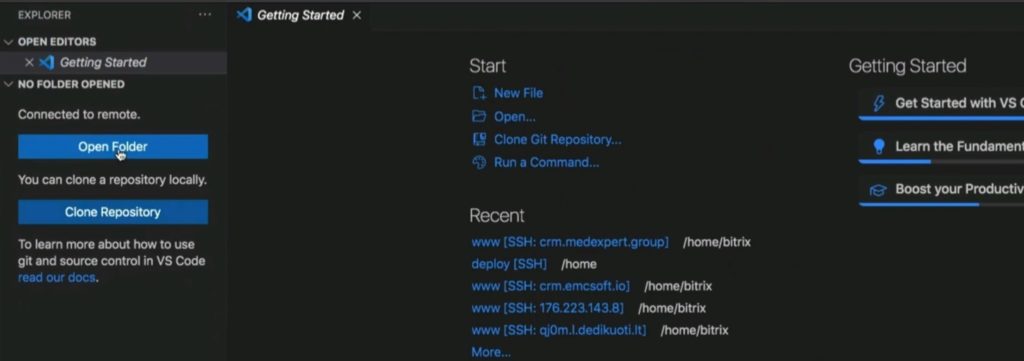
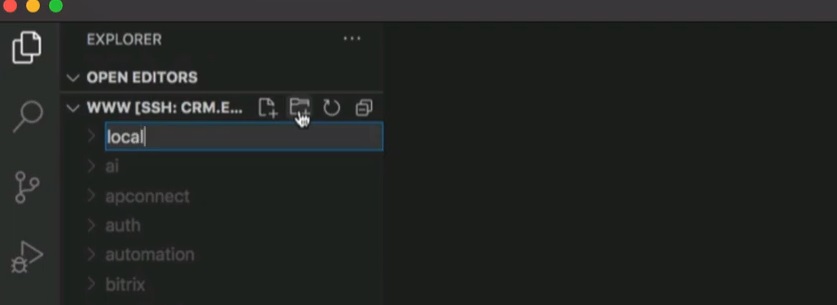
11. And go to a particular path: /home/Bitrix/www/
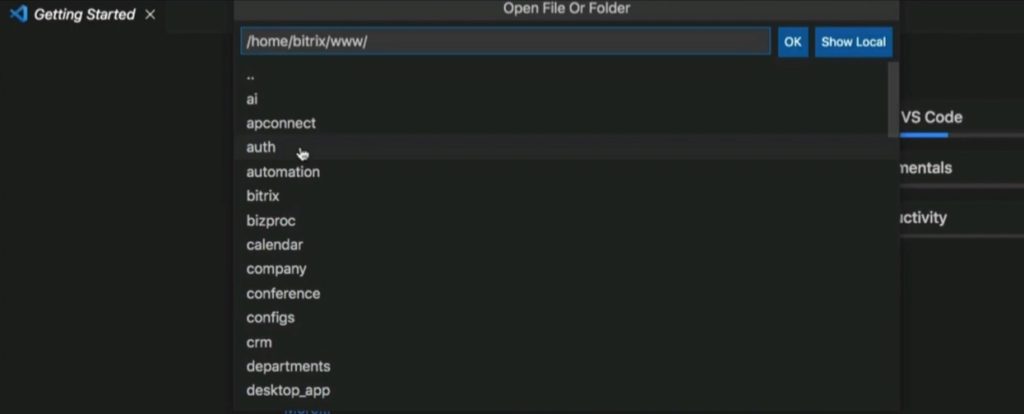
12. This is where all self-hosted Bitrix files are located.
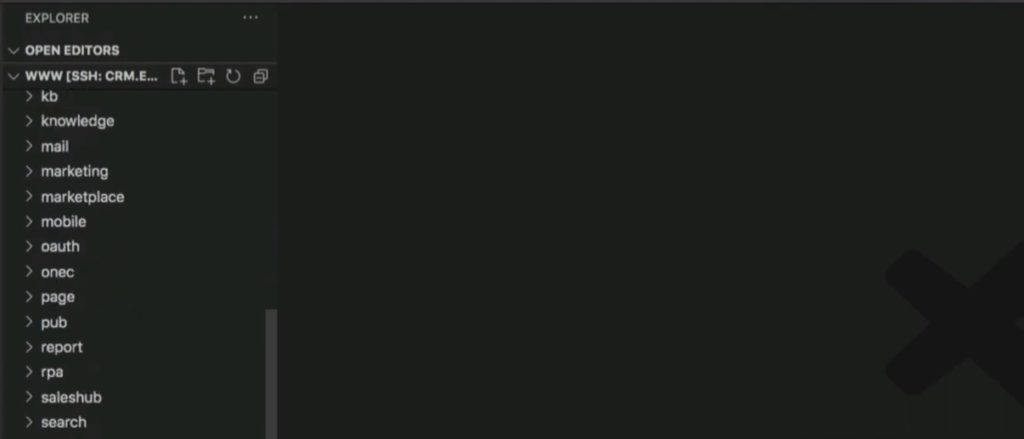
13. In this folder we create a new folder named “local”.
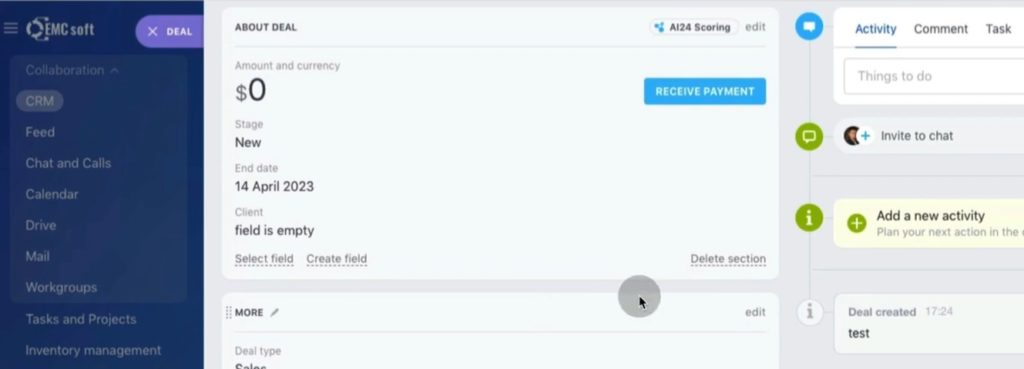
14. We will perform example development changing a view of standard Deal card in Bitrix. As we all remember, default Deal card looks as follows.
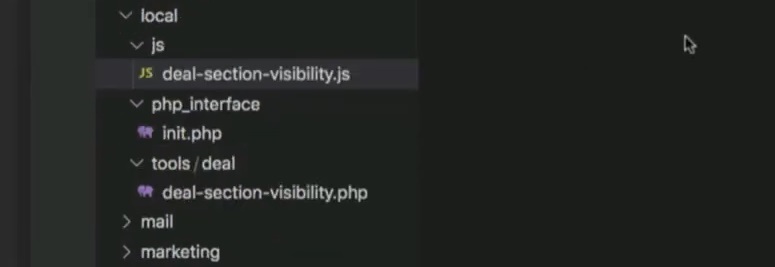
15. We start development by creating new folders in Local folder: js; php_interface; tools/deal.
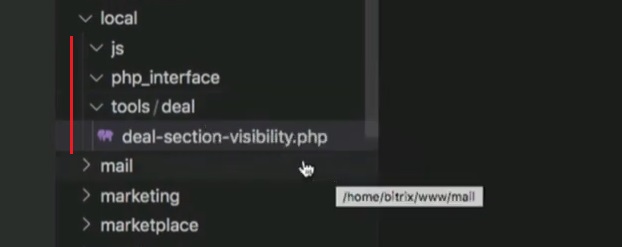
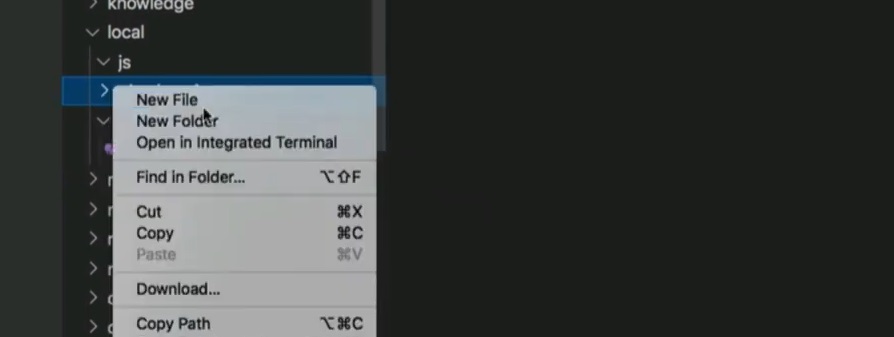
16. We will create additional files in each folder.
17. This is how our additional .js and .php files look like in Local folder in Visual Code.
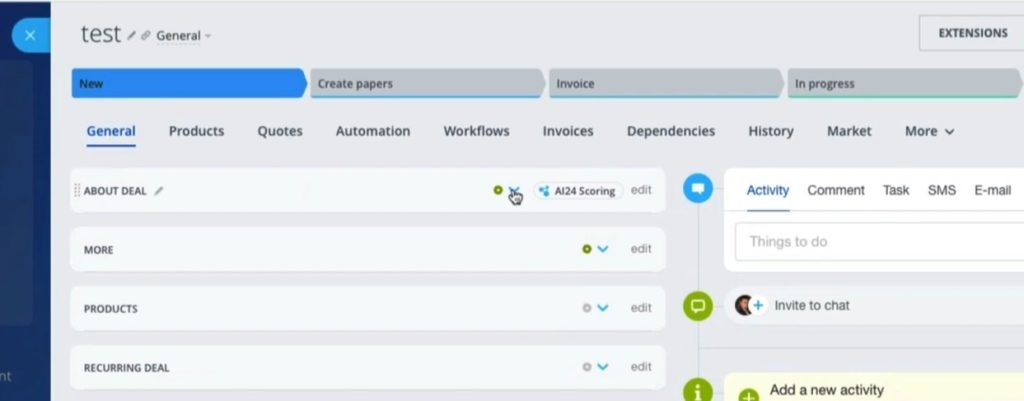
18. As a result, our Deal card has changed: it now has an accordion-like structure.
So, this is the way we usually work. We never change code of the Bitrix itself, because after next Bitrix update all code changes will vanish with a risk of system crush. Unfortunately, there are still disreputable developers on the market who offer extremely low prices and perform quick development changing Bitrix code. As a result, fast and cheap service results disappear right after CRM update.
To avoid this kind of sad ex perience we advise to check prices from a variety of service providers; check their portfolio and reviews; and do not chase the lowest price. A professional service provider can always justify his price.
Moreover, usually wise old-timers of the market carry out educational activity sharing their experience. They aren’t scared of the competition due to established reputation and adhering to the “quality in details” principle.
If you would like to participate in our Bitrix admin course or upcoming Bitrix development course, feel free to contact us via our website contact page. We will get back to you asap.
You can also watch this video on Youtube