| 2683 Views | Amin

How to Use EMCsoft Ticketing Solution
Every company – including IT firms – needs some form of organization. When you’ve got a lot of things to do, trying to carry them out manually will only cost your company a lot more time and money than is necessary.
As an active organization, a ticketing system is what you need to help you get things done accordingly. From taking customer orders, and issuing invoices to them, to fixing system bugs and troubleshooting, efficiency is key. You obviously want the activities within your company to be carried out efficiently, and at minimum cost.
In addition to efficient task management, task tracking is also important. As you try to get ahead of the things to be completed in your company, you also want to know what has been done, when it was done, and who did it. In essence, you can also keep track of what remains undone, to ensure appropriate delegation of tasks for greater productivity.
EMCsoft has remained a household name when it comes to organizational effectiveness. Our system solutions have always proven to be worth the try, as we currently have numerous clients from all over the world attesting to the effectiveness of our systems. And our ticketing solution is one of such systems.
While we have a ticketing system model in Bitrix, it doesn’t exactly meet the needs of some of our clients. So, we came up with this solution for one of our clients in Germany, and here’s how you can navigate the EMCsoft solution for ticketing system.
We know that this solution will work fine for you.
Instructions:
1. First, you have to create a project that is specific to your client’s company.
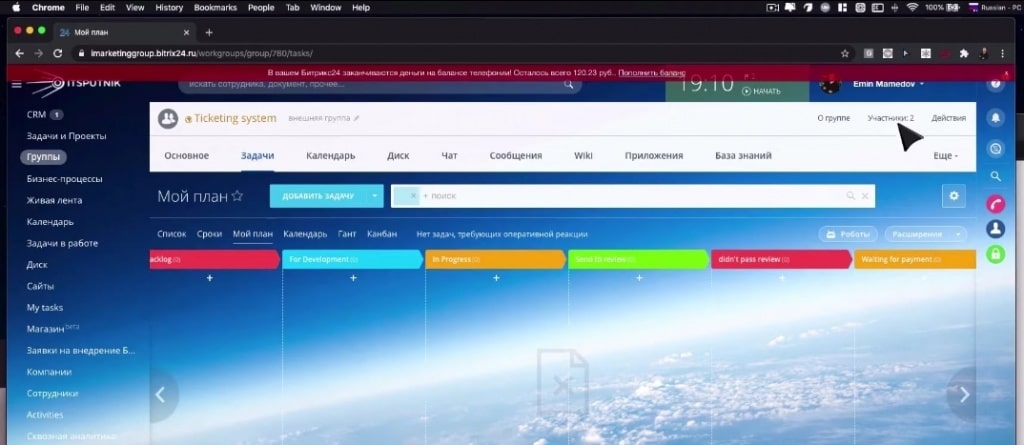
2. Next, add clients who will price the ticket for you. Do so by adding them as extranet users for record purposes.
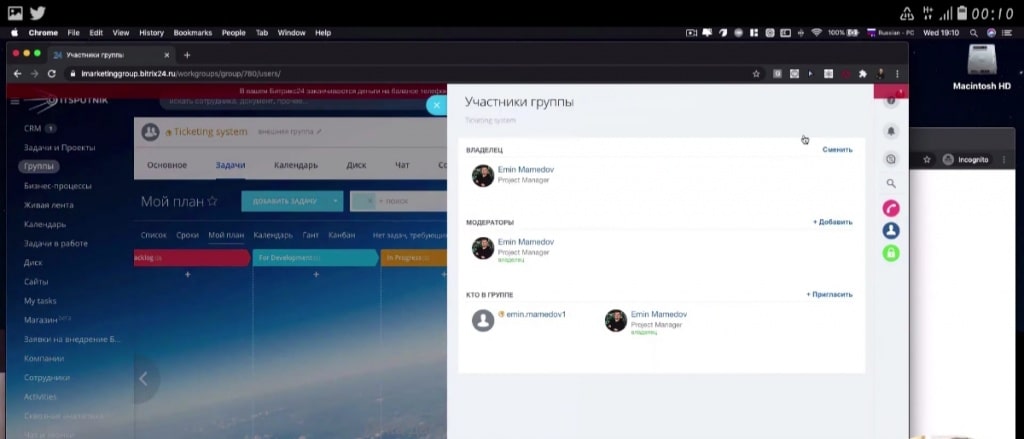
These clients will have access to your Bitrix extranet from which you can generate reports, and also use the standard functionalities of Bitrix for their companies.
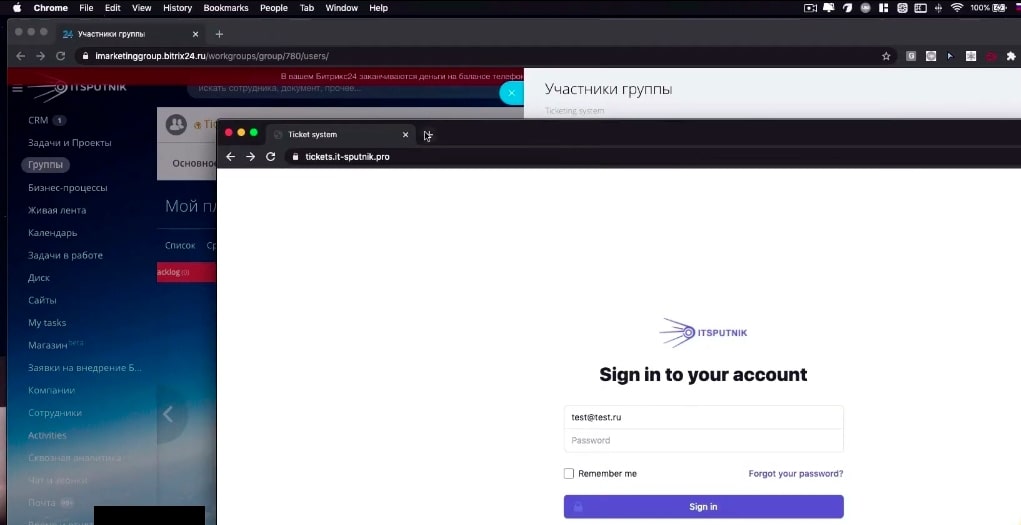
3. For your clients to access your ticketing system, upload a special ticketing page to your website. From there, each client gets to log in with their usernames and passwords, and you’ll be able to ascertain the package they subscribe to.
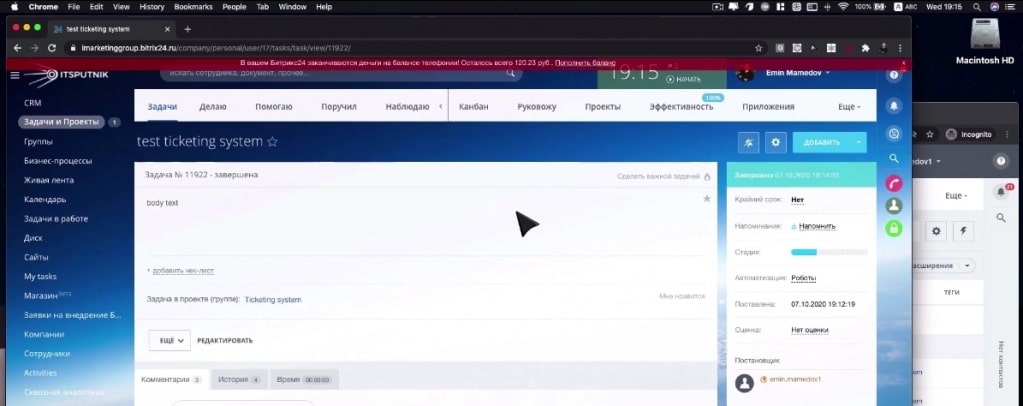
4. Your client gets to write the tickets and can access every ticket they write to you. Some tickets status will show ‘new’, some will be ‘closed’, while others will have the ‘waiting for reply’ status.
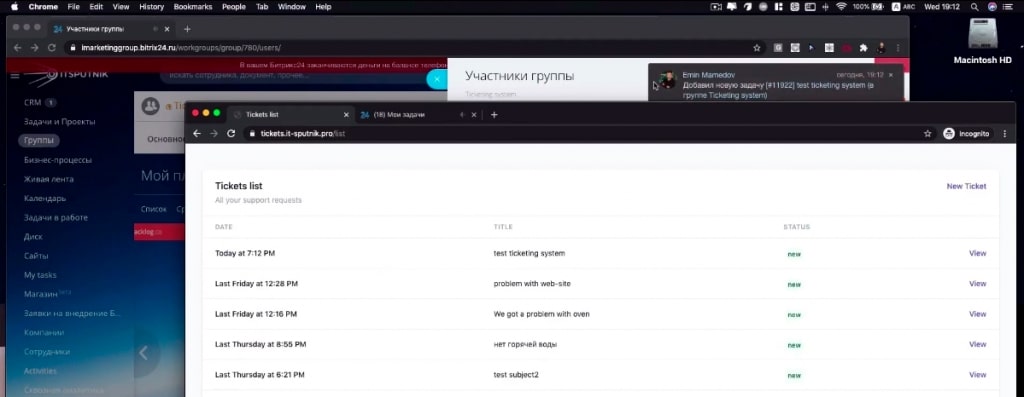
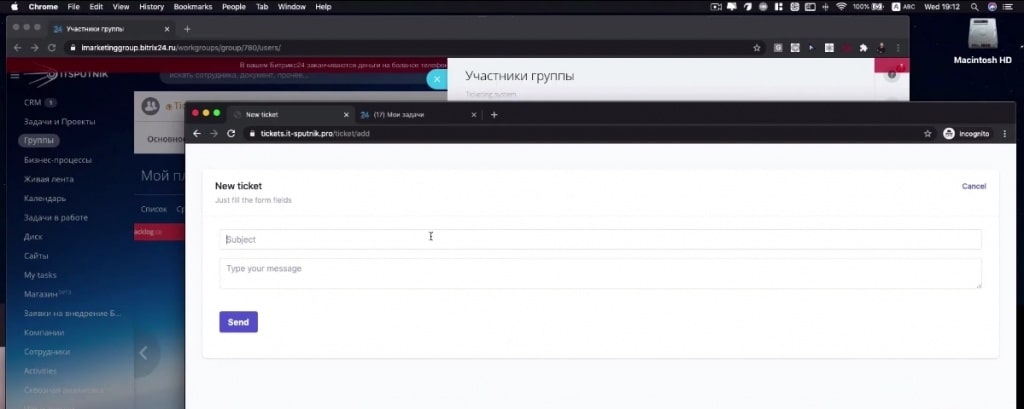
5. For your client to utilize your ticketing system, they have to go to ‘New Ticket’, insert a subject in the ‘Subject’ menu, and then the body of the ticket. You’ll automatically receive a notification for that particular project.
6. Now, run the tickets through the various stages in the system.
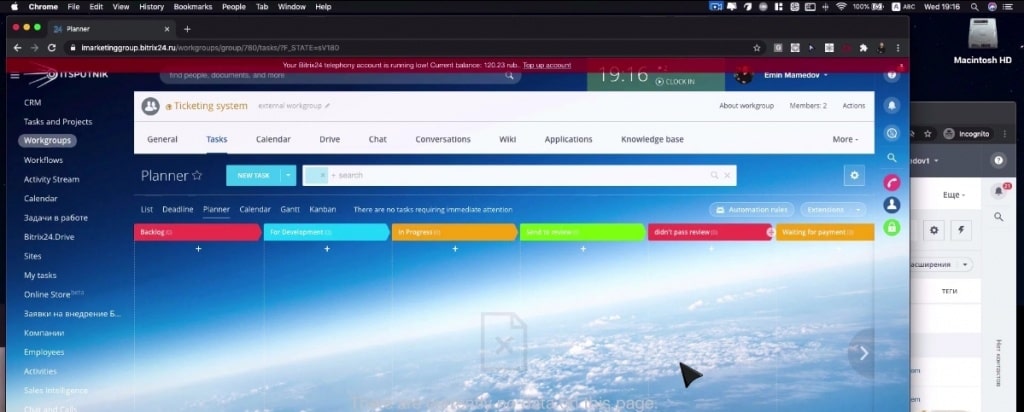
Each change in the stage of the tickets will be visible to your client so that they will know the exact things you do with their tickets
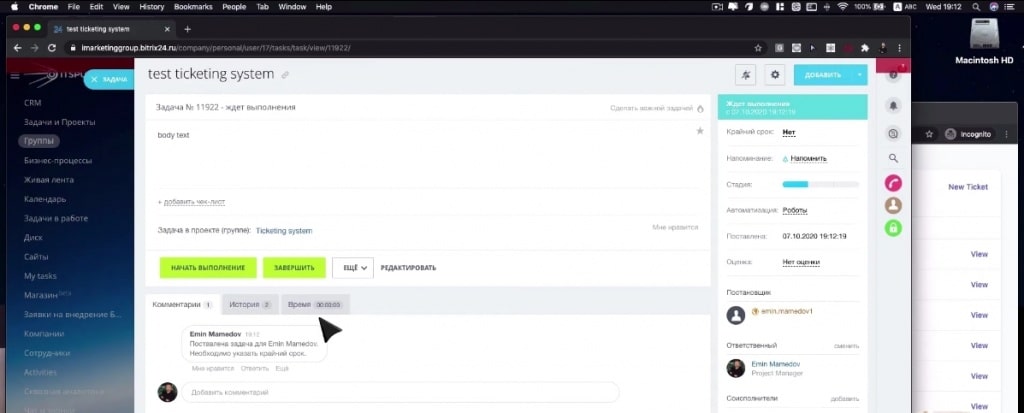
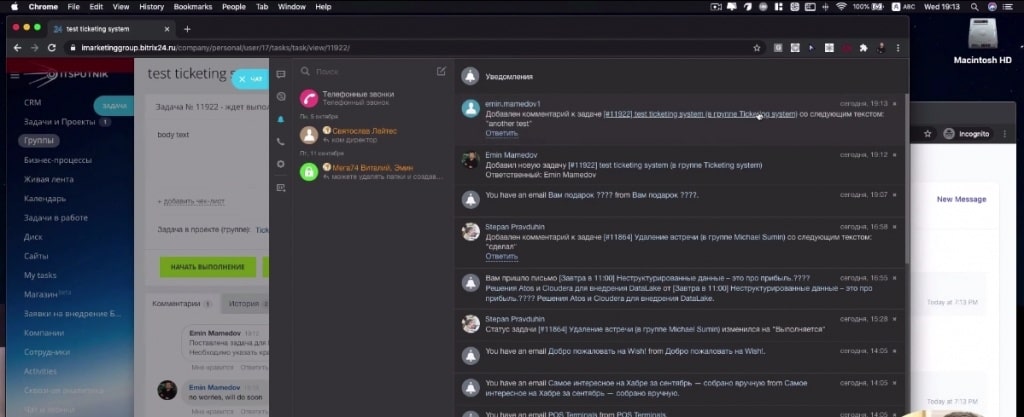
7. You can also reply directly to your clients from ‘Tasks’ in Bitrix. They will receive either mail or mass notifications to that effect.
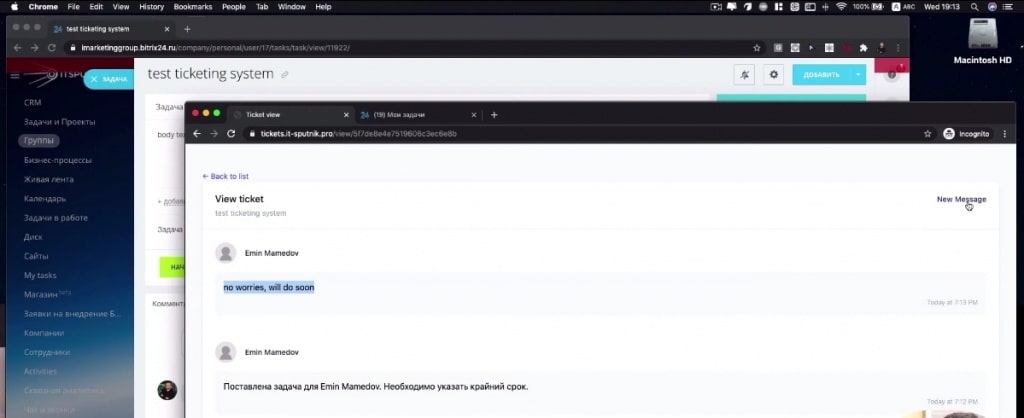
8. By opening the particular ticket to which you sent a reply, clients can see your response, and also engage in direct communication with your managers.
9. A ticket closes automatically after 5 days, or you could simply close it after completion.
10. On closing a ticket, your client will get to see the notification, and also be able to filter available tickets according to their statuses.
11. Also, because this system uses an extranet, you can generate any kind of report for your ticketing system.
We once had a client for whom we created a lot of reports on how he could manage tickets. He had over 25,000 orders every month, and we had to generate large reports for them.
You can also watch the video below about that development!