| 1853 Views | Amin

Amazon Web Services
AWS is a cloud computing platform provided by Amazon. It includes a mixture of infrastructure as a service (IaaS), platform as a service (PaaS) and packaged software as a service (SaaS) offerings.
According to Synergy Research group, Amazon’s market share in cloud market amounted 33% by the end of 2020 (https://www.srgresearch.com/articles/cloud-market-ends-2020-high-while-microsoft-continues-gain-ground-amazon).
Amazon Instances – global virtual servers
An Amazon EC2 instance is a virtual server in Amazon’s Elastic Compute Cloud (EC2) for running applications on the AWS infrastructure. While AWS is a comprehensive, evolving cloud computing platform, EC2 is a service that enables business subscribers to run application programs in the computing environment. It can serve as a practically unlimited set of virtual machines (VMs).
Volume of global cloud server services are growing every year. Each company can use cloud servers from top-companies as Amazon Web Services, Google Cloud Platform, Microsoft Azure and so on.
Advantages of using AWS EC2
With an Amazon Machine Image (AMI), you have the ability to quickly and efficiently determine what computing power, memory, storage, and other factors you need for your applications.
Flexibility is the key benefit as well. An AMI can run Linux, Unix, or Windows, and you can augment the AMI with additional services. As you can expect from an Amazon service, an AMI is compressed, encrypted, and secured no matter which operating system you use.
Pricing of AWS EC2 services is also flexible, what can be counted as advantage. The most basic type, EC2 on-demand pricing model is where you pay only for the amount of resources that you actually use.
Disadvantages of using AWS EC2
Disadvantages of AWS involve default limits on resources which vary from region to region; security limitations; technical support fees. Also, some users find pricing policy unclear.
As far this is a cloud service, it is important to take into consideration issues, connected with the latest geopolitical situation that we explored in this article.
And of course, AWS does have general cloud computing issues when you move to a cloud such as a downtime, limited control, and backup protection.
Using Bitrix24 in AWS environment
Therefore, app developers can offer a pre-installed template to use in the most popular cloud server systems.
Bitrix prepared an AMI for its Bitrix24 CRM program. As soon as you install that Instance and get IP address, you will be able to open a pre-installed Bitrix24 which is located on Amazon server. In that case you will enjoy advantages of self-hosted Bitrix24 and avoid problems connected with managing your own servers, sysadmins and so on.
Installation of Bitrix24 AMI is comparatively easy and does not require any coding skills. However, there are some steps as, for example, admin name registration that should be taken deliberately. We will disclose them further.
Let’s see how to: bitrix24 on premise installation on AWS step-by-step.
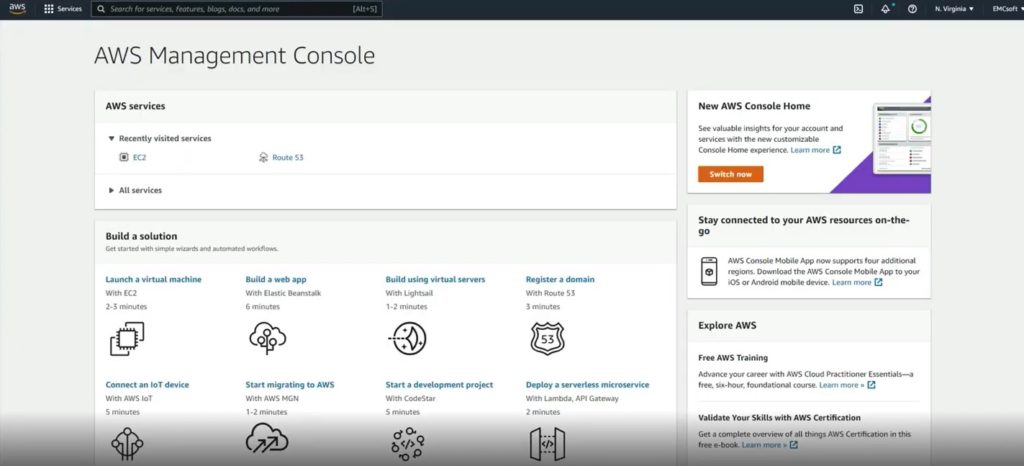
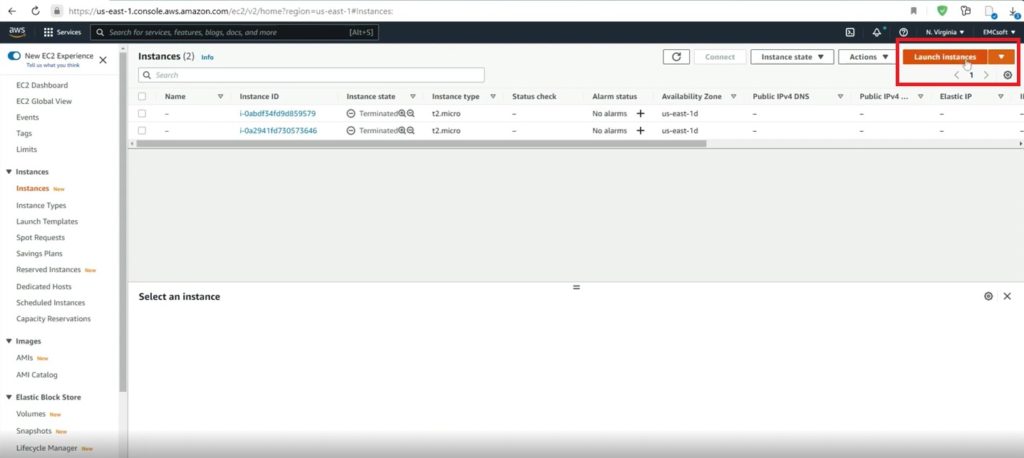
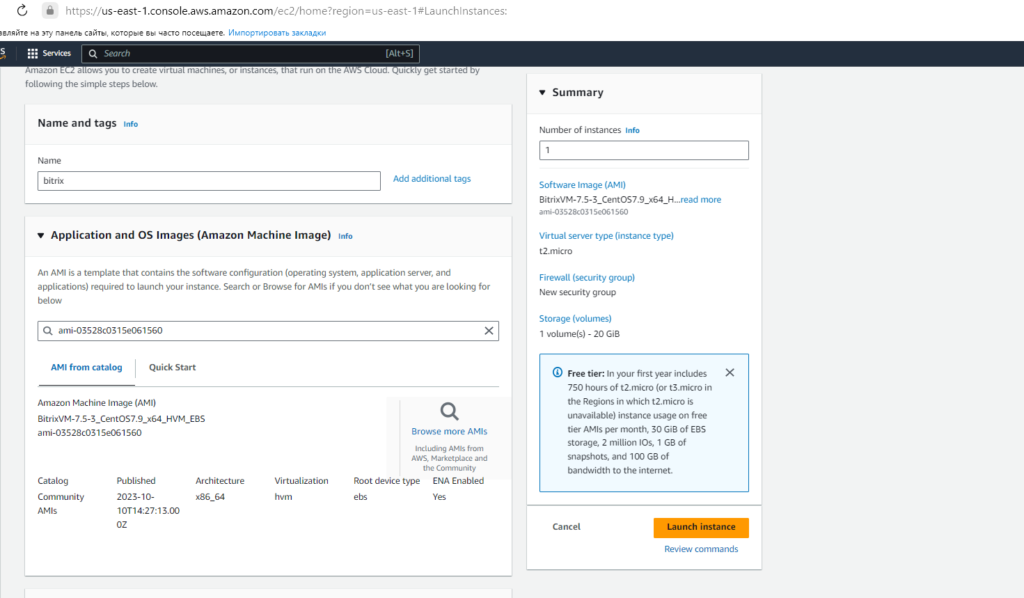
1. In Amazon management console click on EC2 to go to instances.
2. Click on Launch instances on the upper left panel.
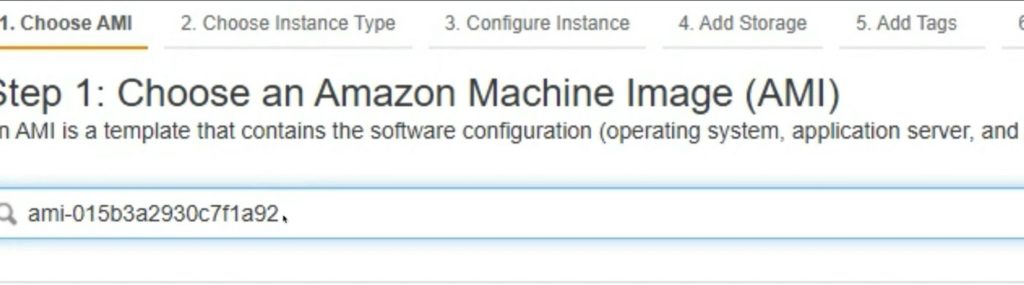
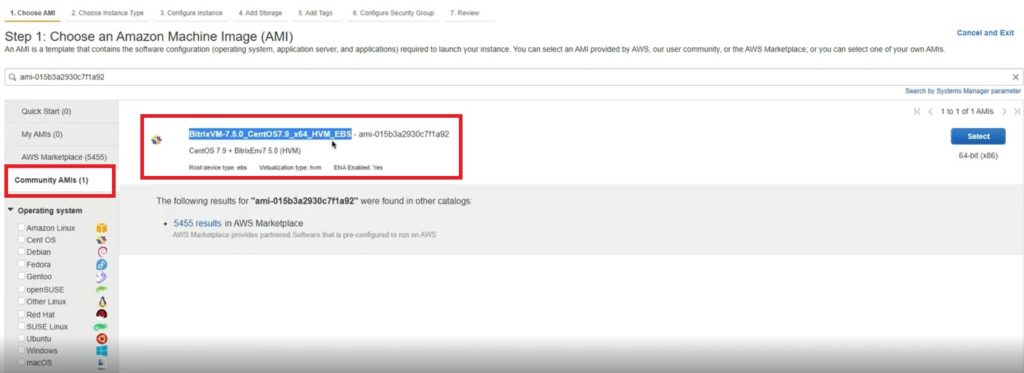
3. You will enter instance installation procedure. In search field type Bitrix pre-installed AMI template code: ami-015b3a2930c7f1a92
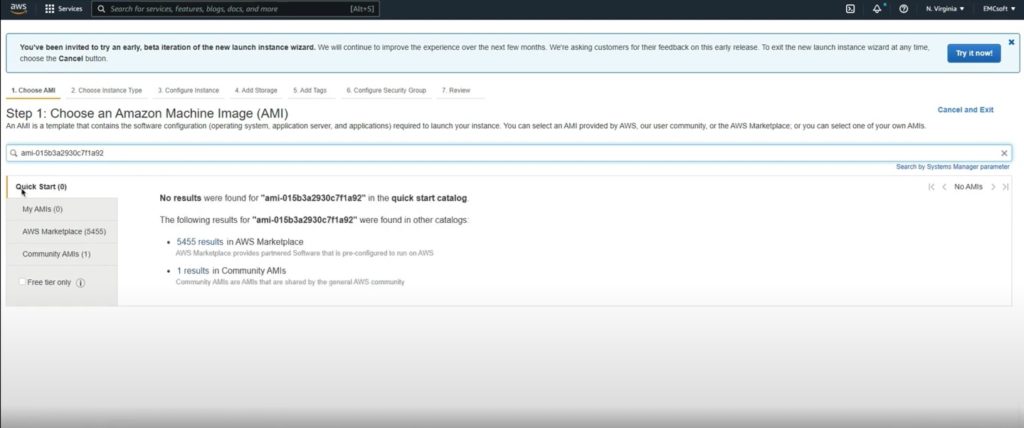
4. Click Search.
5. In Community AMIs section relevant instance will appear. Click Select.
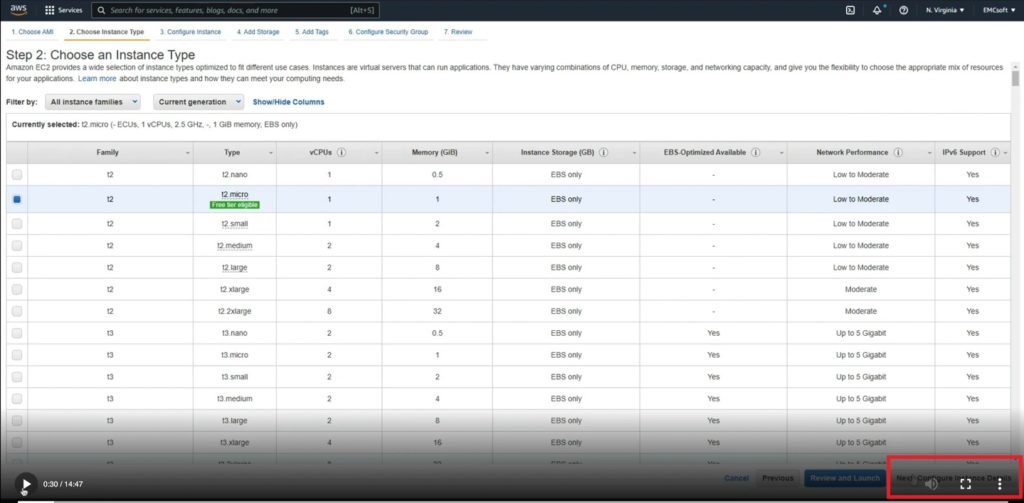
6. Next, you will need to choose right Type of Instance. Usually, 8 GB of memory and 2 cores are suitable for Bitrix. However, it depends on your requirements, so it is better to go by memory volume. Anyway, you can choose a certain type and if you will see that Bitrix is not working well, you can always increase performance up to that level.
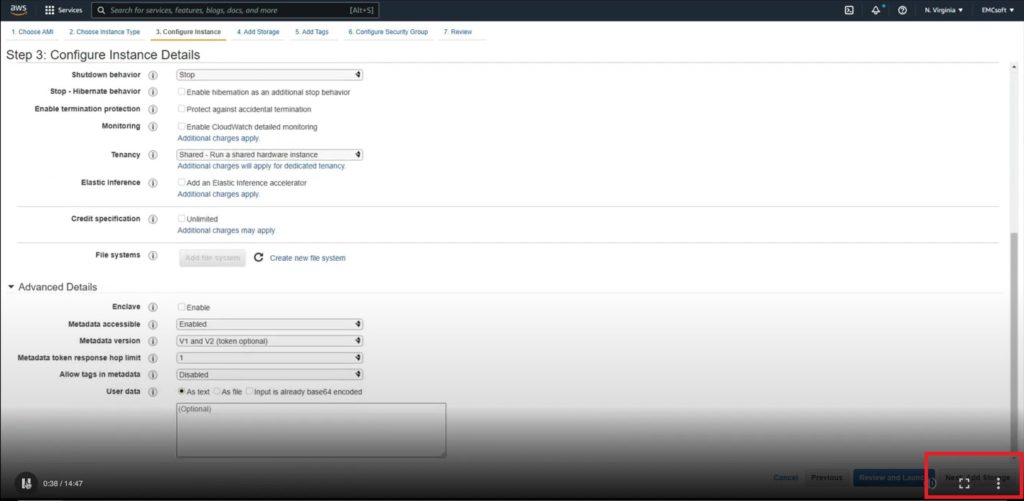
7. Here, ignore settings and go to next step
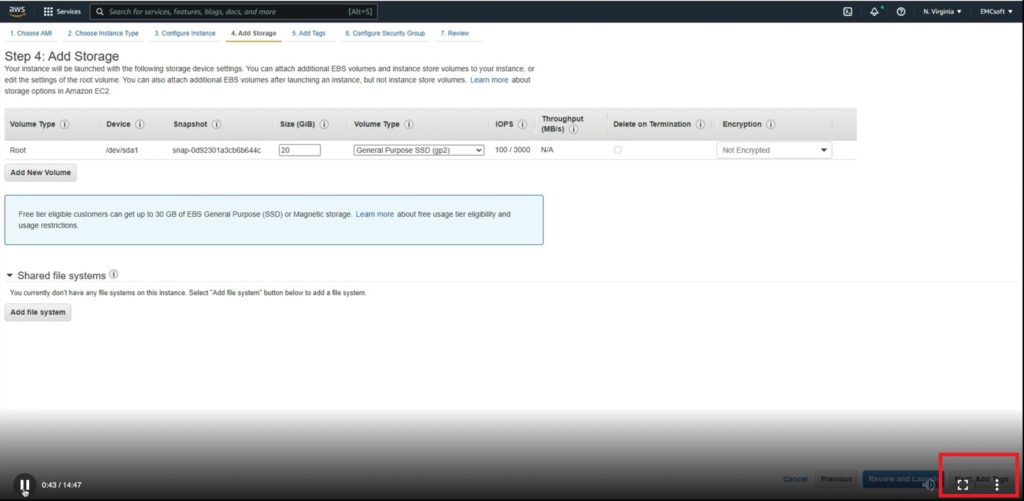
8. Also ignore settings and go to next step
9. Also ignore settings and go to next step
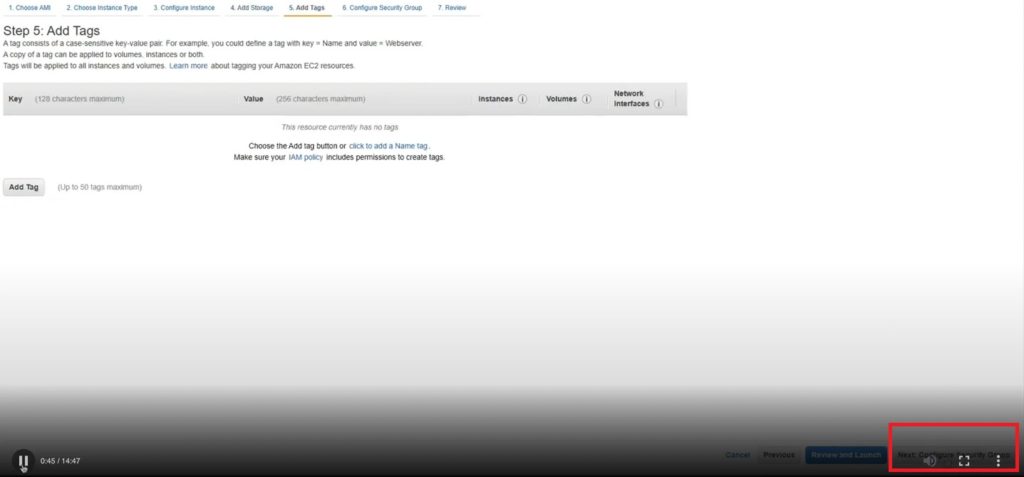
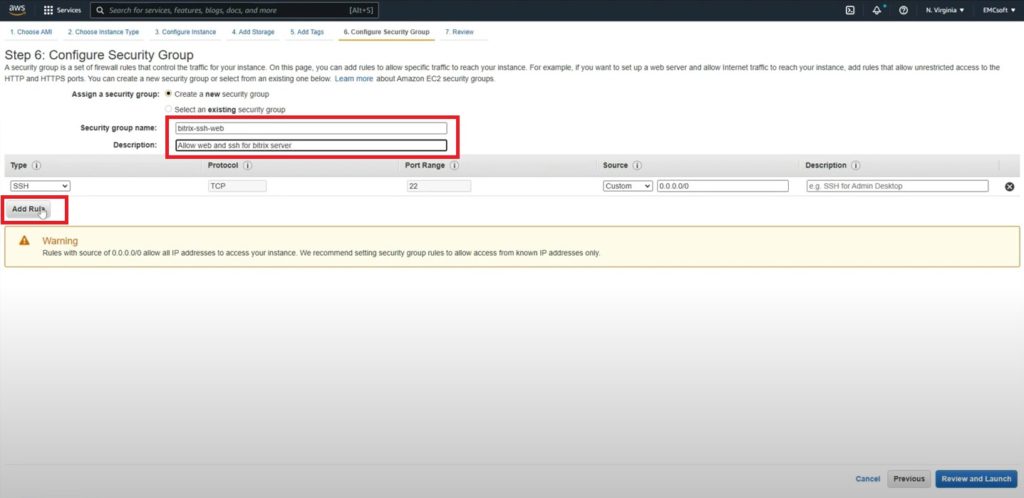
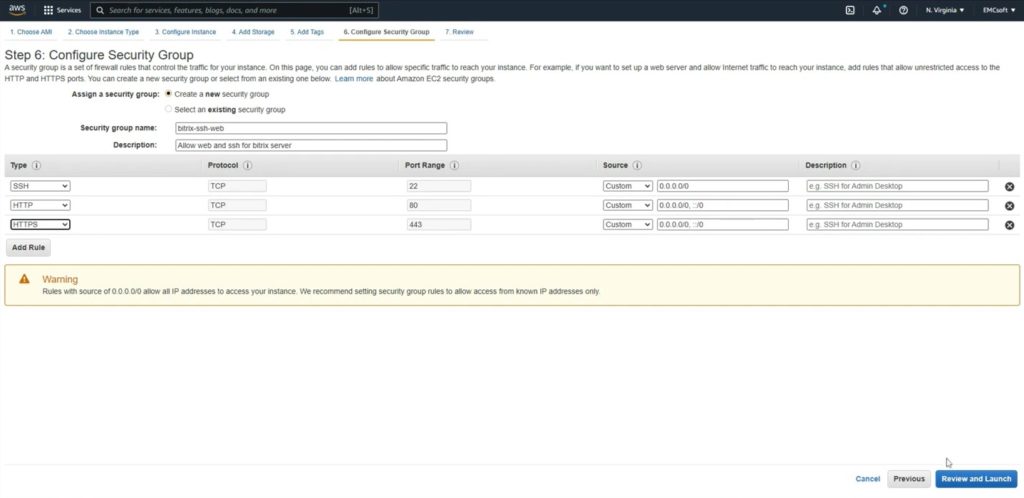
10. Here, give a name to your group and some description. Then add a rule to get an access to the servers like SSH, HTTP and HTTPS.
11. Then click Review and Launch, check details and click Launch.
12. Tick the box confirming access to the corresponding private key file.
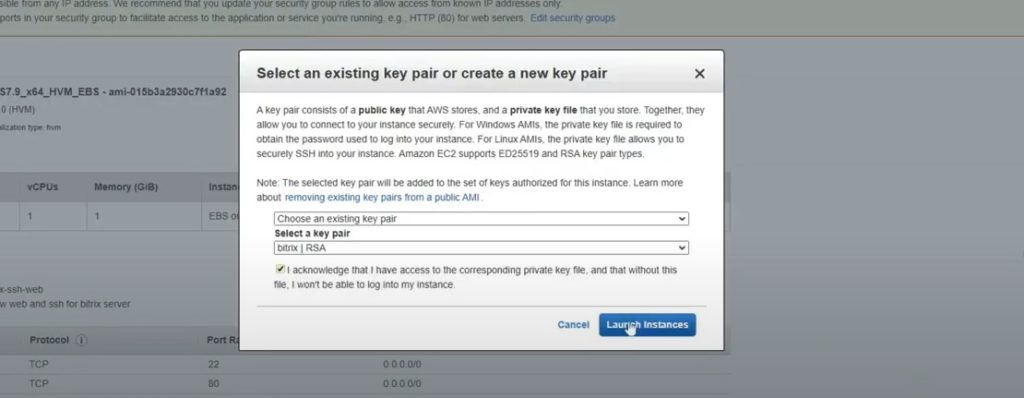
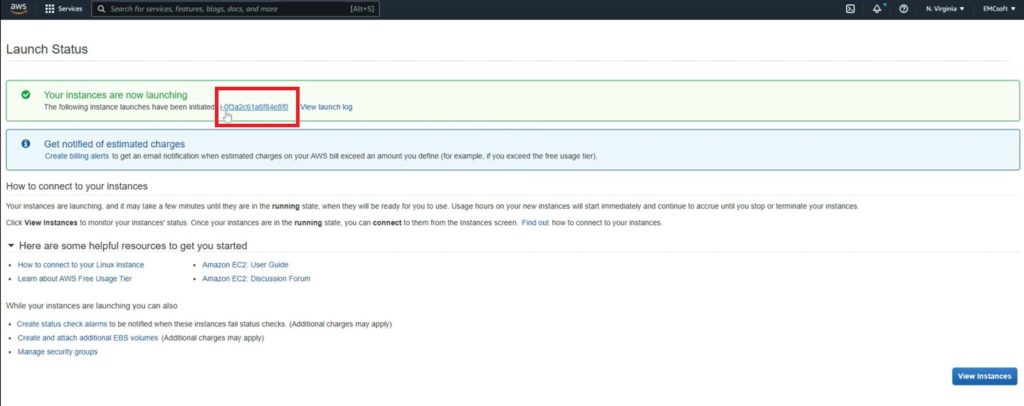
13. System will initiate Instance launching. Then in opened window click on Instance link.
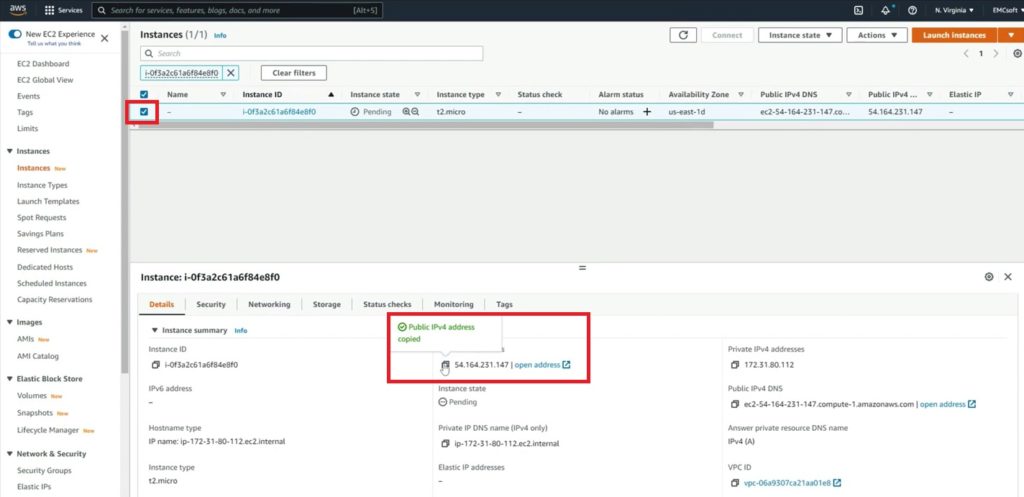
14. Now we have an IP address of the server. Click on it to go to the Bitrix24 virtual appliance.
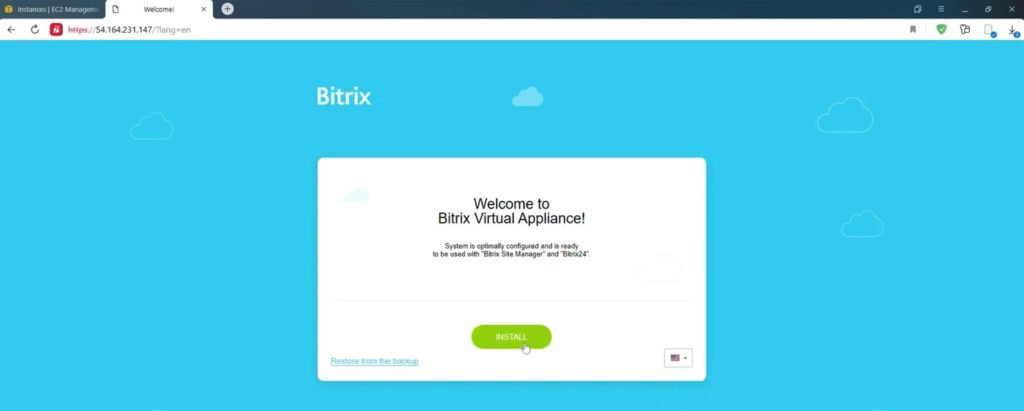
15. Now Bitrix24 installation procedure will begin. Click Install.
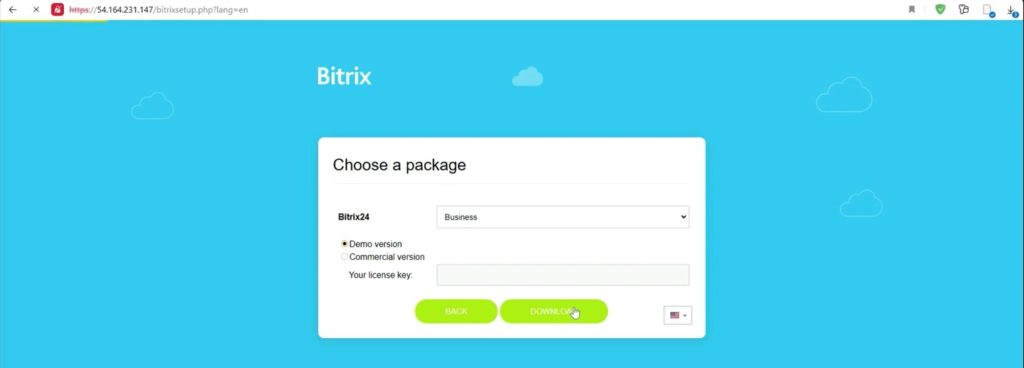
16. Choose a package with license key if needed. System will download installation package from server.
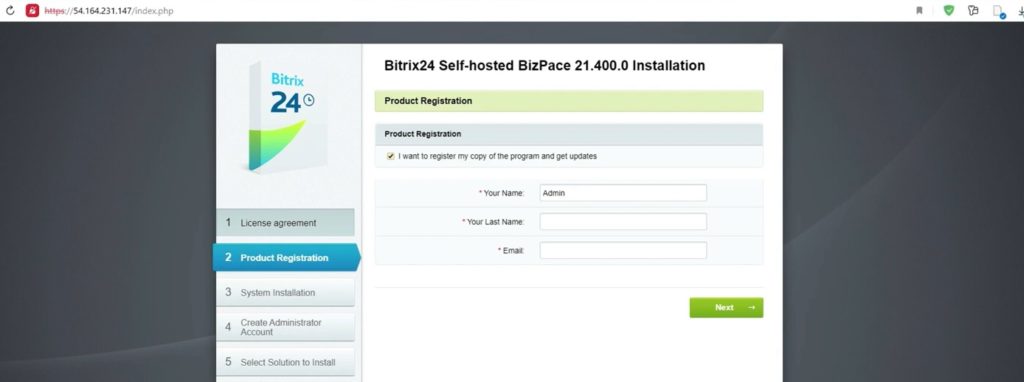
17. Here you need to put your name and email. We recommend you to use ADMIN and ADMIN as a name and surname, because you are creating user with ID1. This is a super user who has a full access to the system. That’s why we do not recommend to use that account except a dedicated person in charge of Bitrix management.
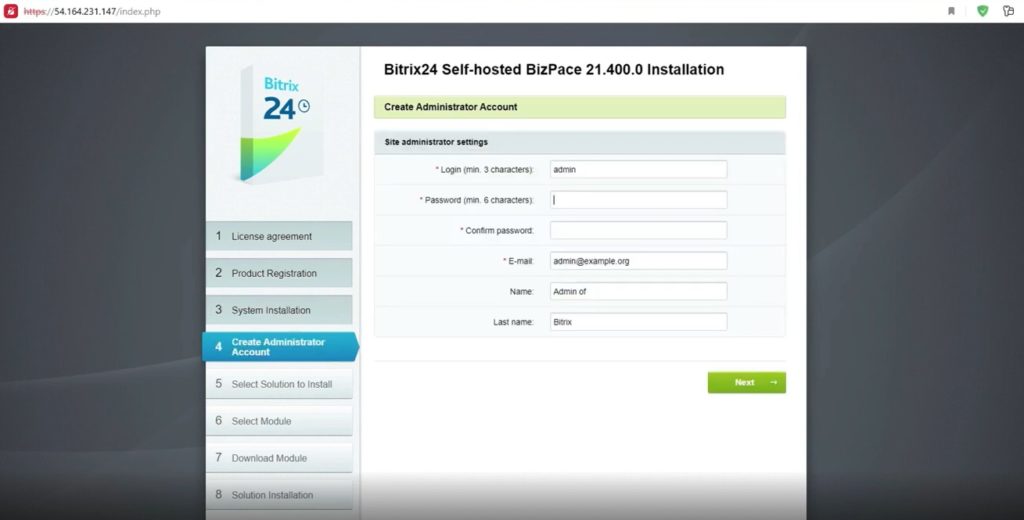
18. Next, put secure password. Then you will start Bitrix24 Configuration. Just click Next.
19. Tick Enable social network and open communication in order to use Whatsapp, Facebook etc.
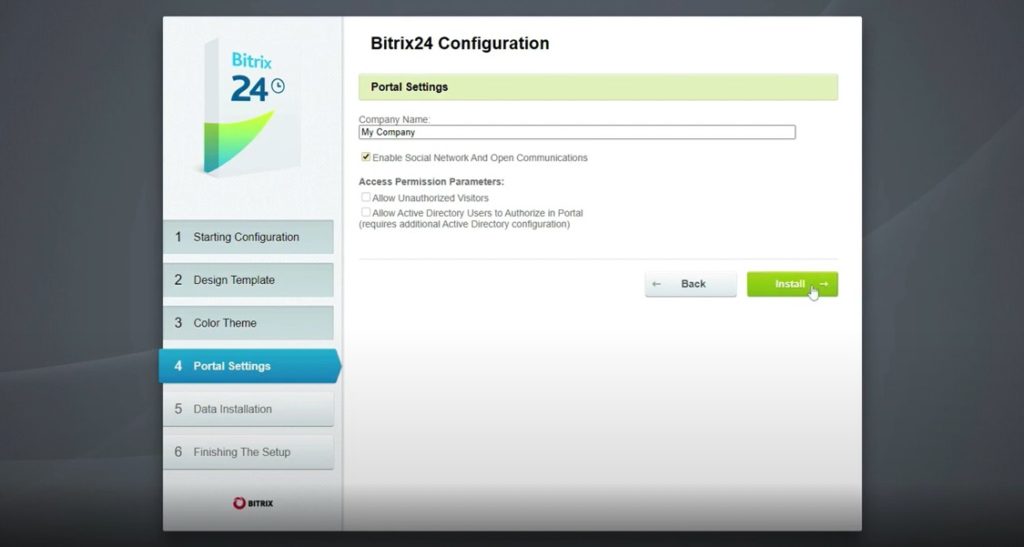
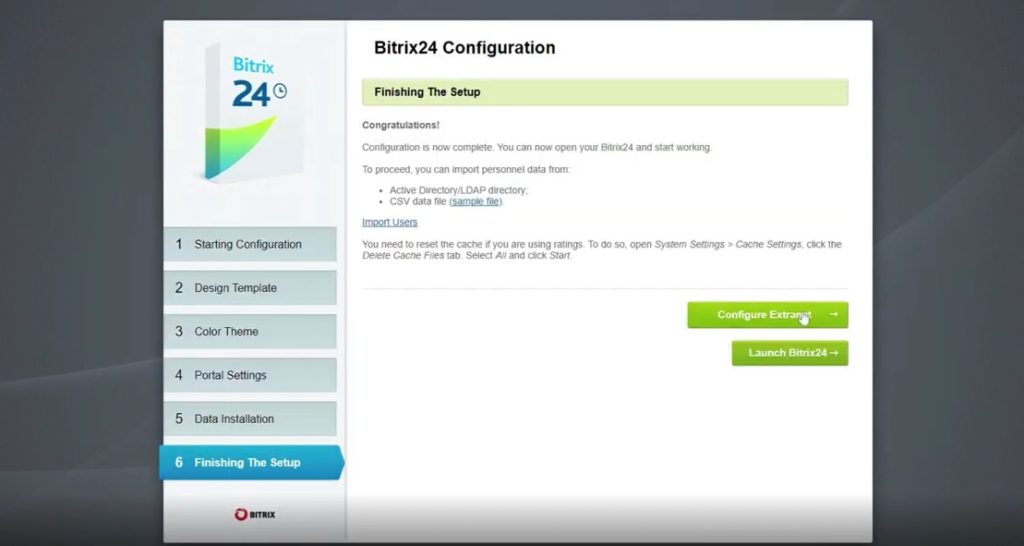
20. In following menus click Next and then go to Configure Extranet.
21. Here you can put your company name for extranet users.
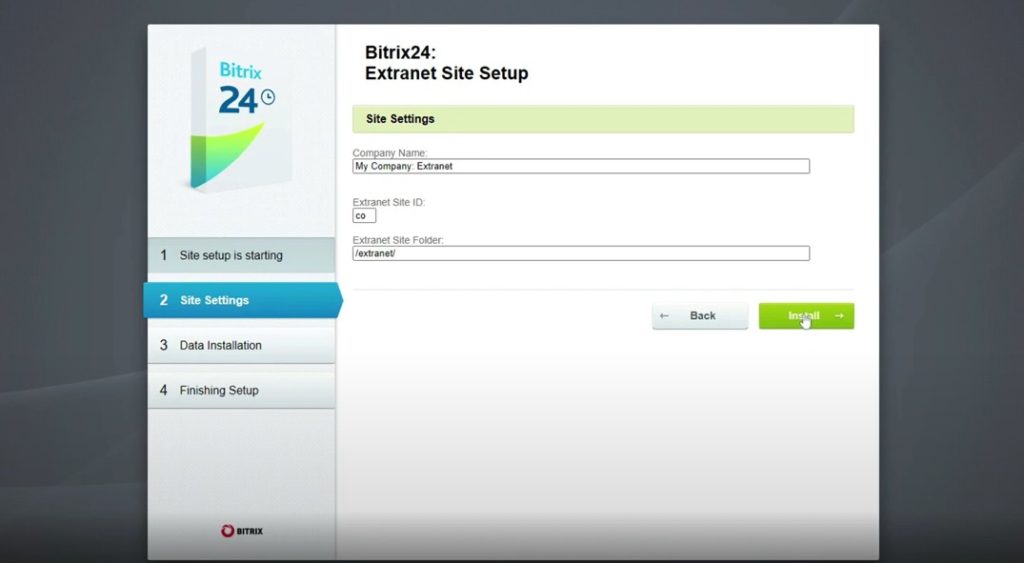
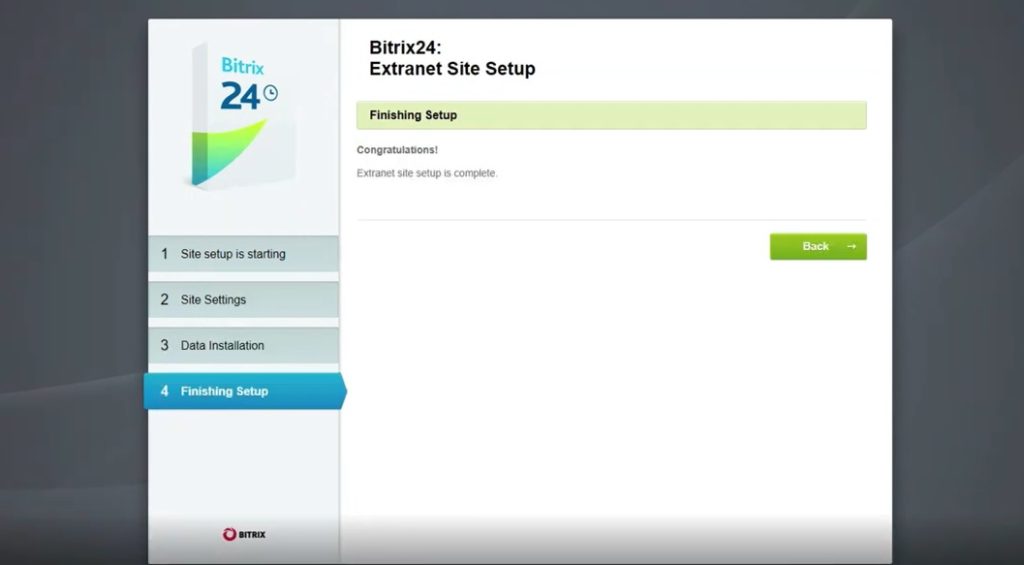
22. As soon as Extranet settings are finished, installation is finished.
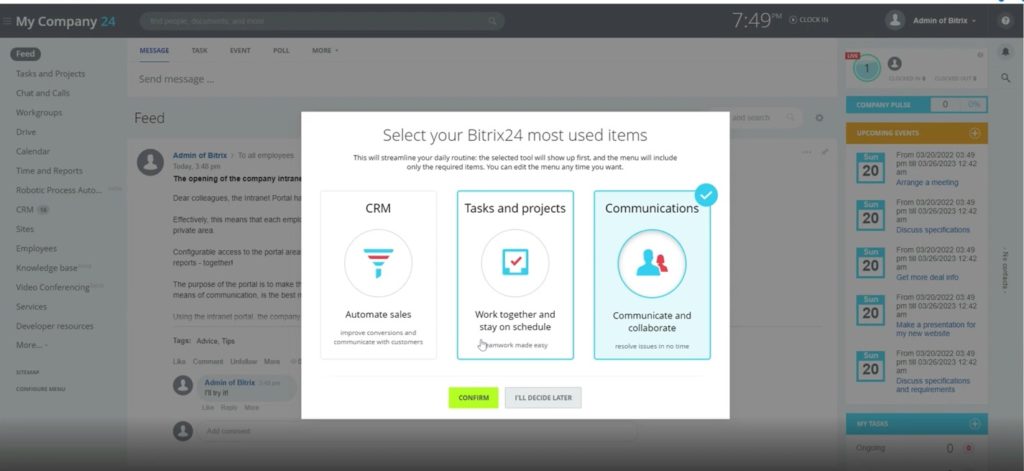
23. Next, a window with most used items will appear. This will affect only the order of a left menu. Then you can go to Admin panel, click Administration and go inside of the backend of a Bitrix.
That was an overview of how to install Bitrix24 in Amazon Web Services.
If you are using Amazon Web Services and have questions regarding Bitrix24 installation and management, feel free to contact us here.
“You can also watch this video on Youtube”
Additional information on creating an ssh key
1. Start creating a virtual machine with an AMI image
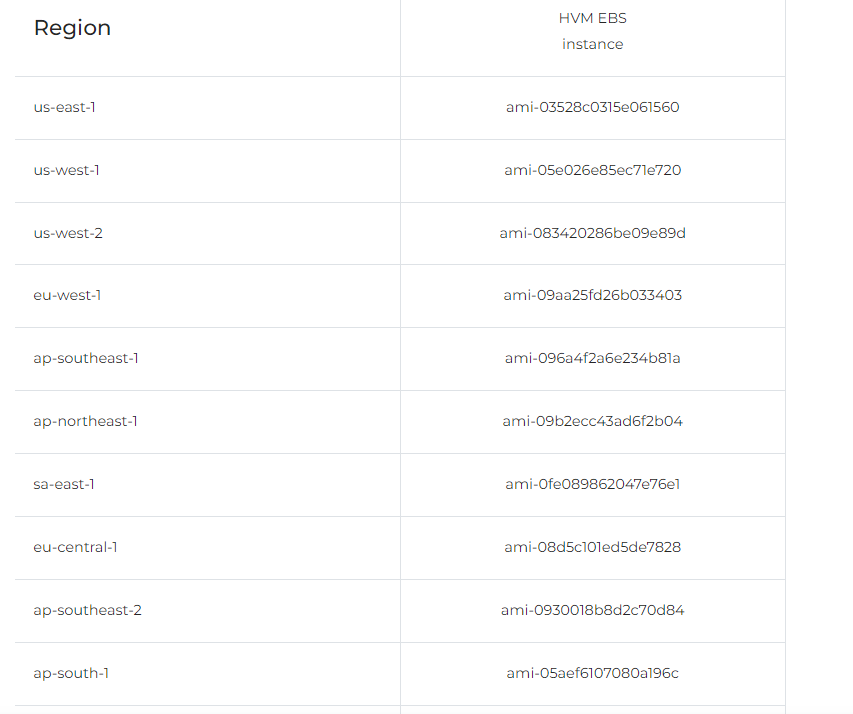
2. A list of images by region is available at https://www.bitrix24.com/self-hosted/installation.php
3. When installing the Bitrix24 image, select an existing ssh key or create a new one
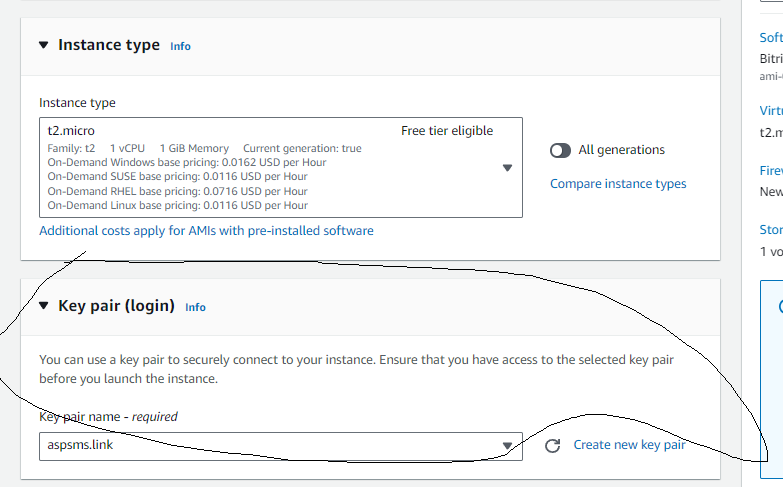
4. If you create a new key, select the format for which the key is needed – putty (windows) or linux (also available for macos) compatible
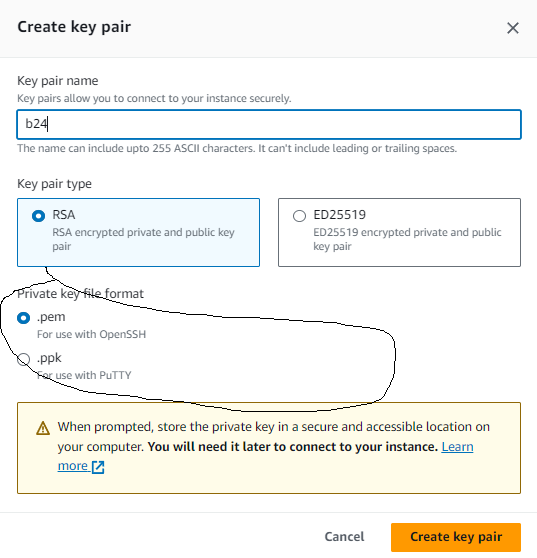
5. After creating the key, the key will be automatically saved in the browser in downloads.
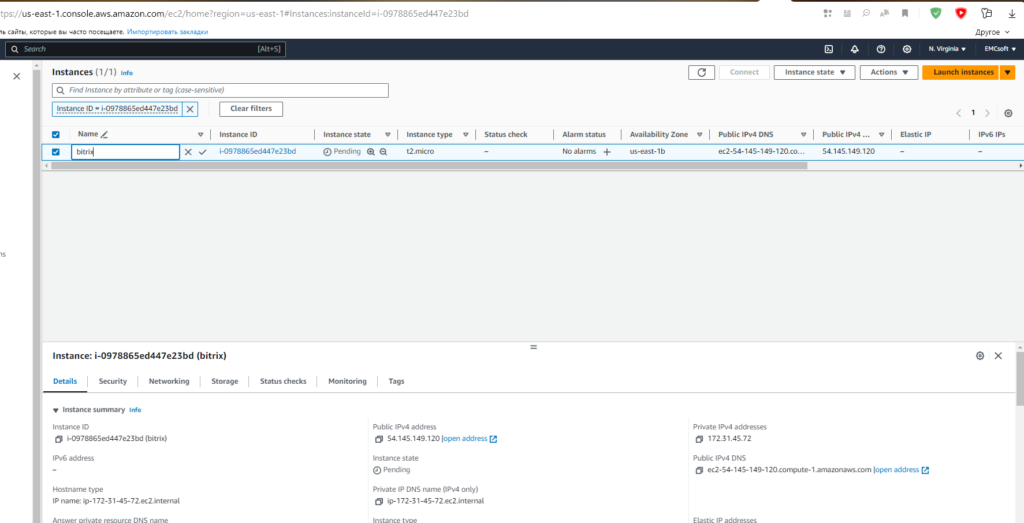
6. After creating the virtual machine, it will be available in the Instances section in AWS.
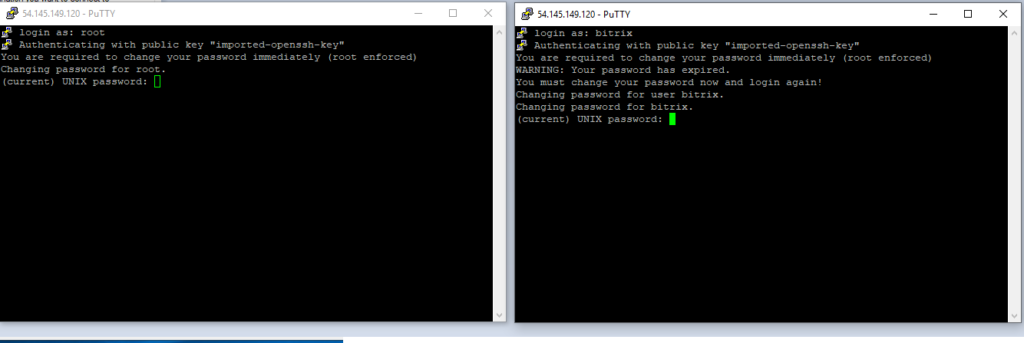
7. To connect via ssh, you must use the key saved in the previous step and the root or bitrix user.
8. The bitrix user has rights and access only to the bitrix24 system.
9. The root user has all rights in the system.
10. Upon initial connection, the Bitrix OS will require you to change the password for the root or bitrix user, depending on who you are connecting under.

11. It is advisable to connect with a key. This will ensure maximum security for your server.