| 4167 Views | Amin
Using on-premise solutions on servers
When we are talking about how to roll out CRM system in company, there can be 3 different ways:
1. On-demand, when we use cloud solutions from developer;
2. Using private clouds;
3. On site, when we have our own server.
Each way has its advantages and disadvantages, and business owner should take a relevant decision based on company requirements.
Obviously, using cloud CRM solutions is comfy and hassle-free. However, if you want to have full access to your CRM restricting any third party entries, the best thing is to use on-premise solutions. You will get source codes and be able to install them on any pre-configured web-server. In that case, servers will be under your control and you can state who can have access to your data and even specify which data exactly can be open for users.
In our opinion, acquiring self-hosted programs is more beneficial and secure, than using cloud solutions, especially in long-term vision. In this article we will go through installation of on-premise Bitrix24 on clean CentOS 7.
Web hosting services
Web hosting services work by maintaining stable and secure storage spaces. While web hosts provide more than just simple data storage, it’s a core part of their functionality. Hosts store data on hardware called web servers, which allows for easy maintenance and access by online users.
To start with, you will need a server. Apparently, in the most cases you do not need to have a special or powerful server – for CRM purposes you can allocate a mid-level computer in your office. Mainly it has to be connected to the local network and had at least 2 GB operating system and 2 GB free space on hard drive.
Another option is to rent a virtual server. There are a lot of alternatives, starting from giants like Microsoft, Amazon, Oracle etc to local companies that can be located in business centers of your town. In this video we showed how to install self-hosted Bitrix24 on Amazon Web Services. There, you can choose Instances with various combinations of CPU, memory, storage and networking capacity. Having flexible settings, you can choose server suitable for your needs and budget. Also, if you will face some performance slowdown in future, you can upgrade capacity at any time.
Operating Systems
An operating system is a fundamental software on your server that interfaces between the computer’s hardware, and the user. Without an operating system, your server is just a collection of electronics that does not know how to communicate with the rest of the world.
For web hosts, there are essentially only two operating systems, Windows and Unix based systems. Windows based hosts use the IIS (Internet Information Services) while Unix (and Linux) based hosts often use the Apache web server.
CentOS for servers
In turn, CentOS — Community Enterprise Operating System — is a free, open source Linux distribution based upon the Linux kernel. It is derived entirely from the Red Hat Enterprise Linux (RHEL) distribution.
CentOS is highly scored because of its built-in features, stability, big community support and high-speed parameters. However, it can be tricky for beginners, especially comparing to Ubuntu.
Working with Bitrix environment in CentOS 7
So, if you are going to work on dedicated server, your system administrator will start from operating system installation, in our case it is a CentOS 7. In cloud hosting there can be options where you install CentOS automatically with built-in Bitrix environment.
However, we will describe a process of how to: bitrix24 installation self hosted in clean CentOS 7.
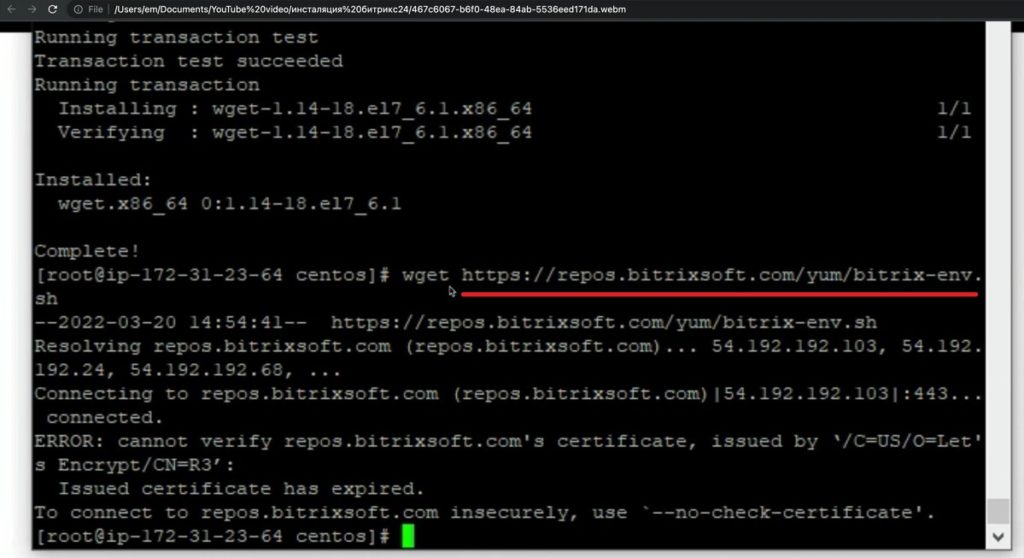
Starting point is installation of yum, a default package manager used in CentOS. After that, system administrator will need to download Bitrix environment installation script and install it.
Let’s see how you can install Bitrix24 on clean CentOS 7 server step by step.
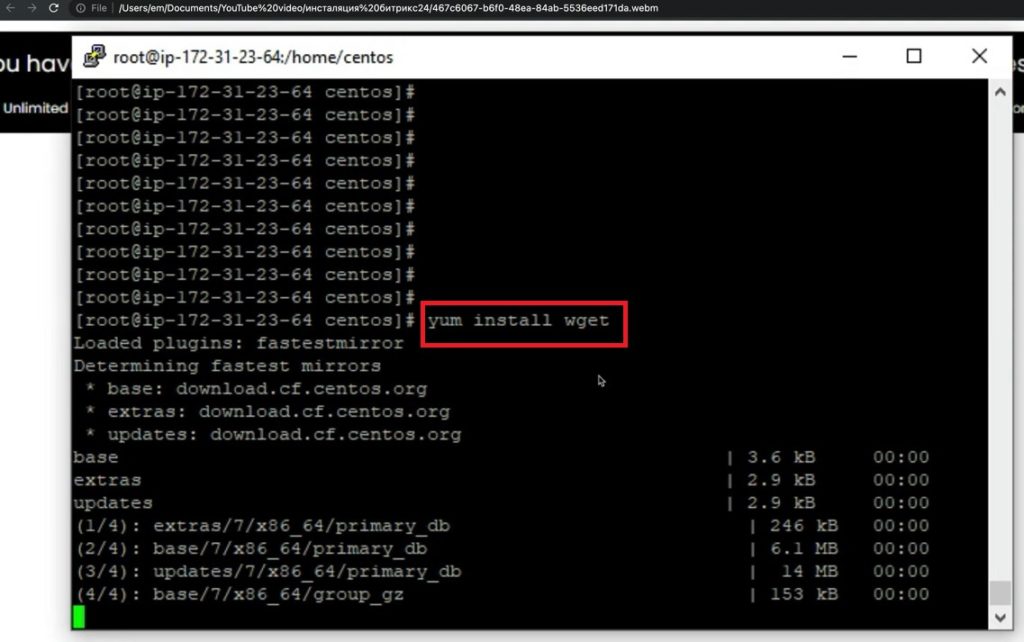
1. We are inside of CentOS 7 server and do yum installation. Yum is a basic package that we need before installation of Bitrix environment.
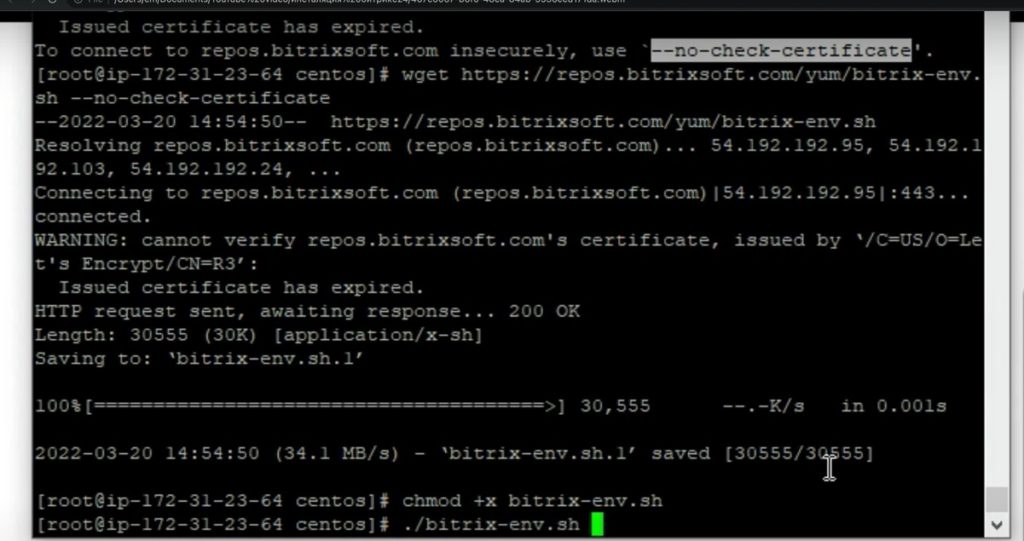
2. Here we are installing Bitrix environment
3. Then, we are making a modification of permissions for Bitrix environment
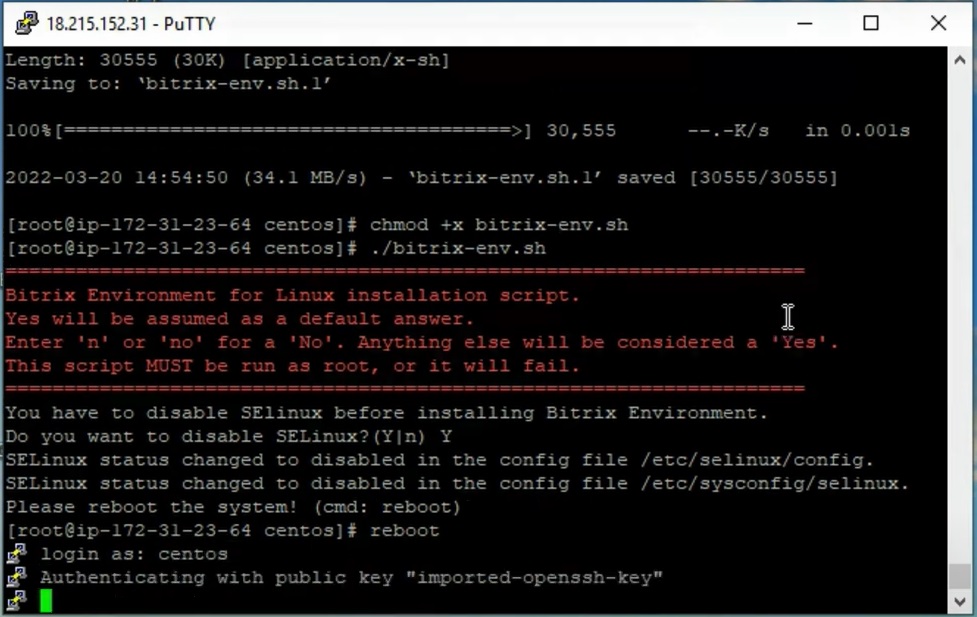
4. After that, we are rebooting the system
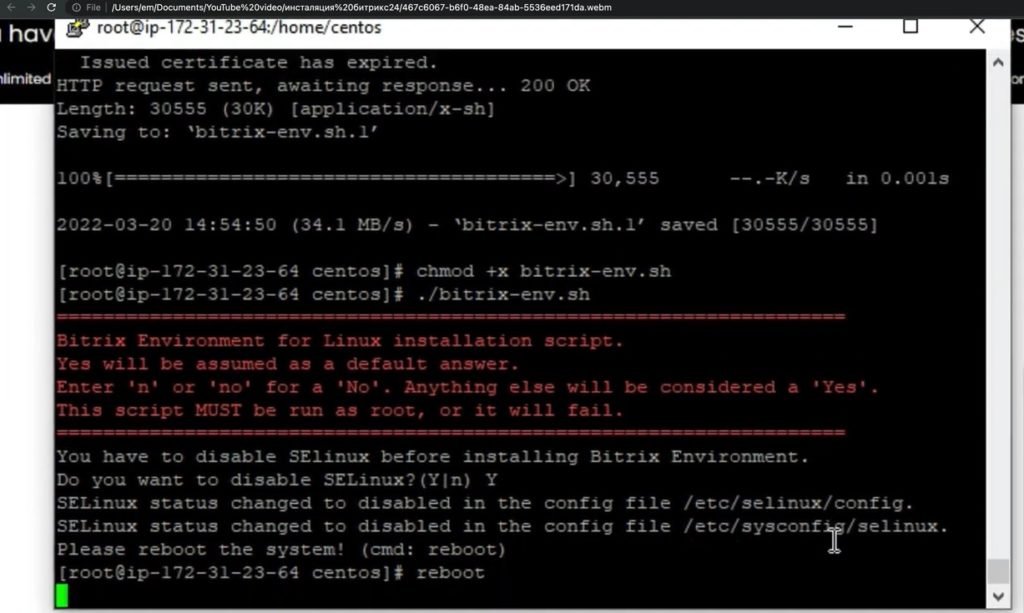
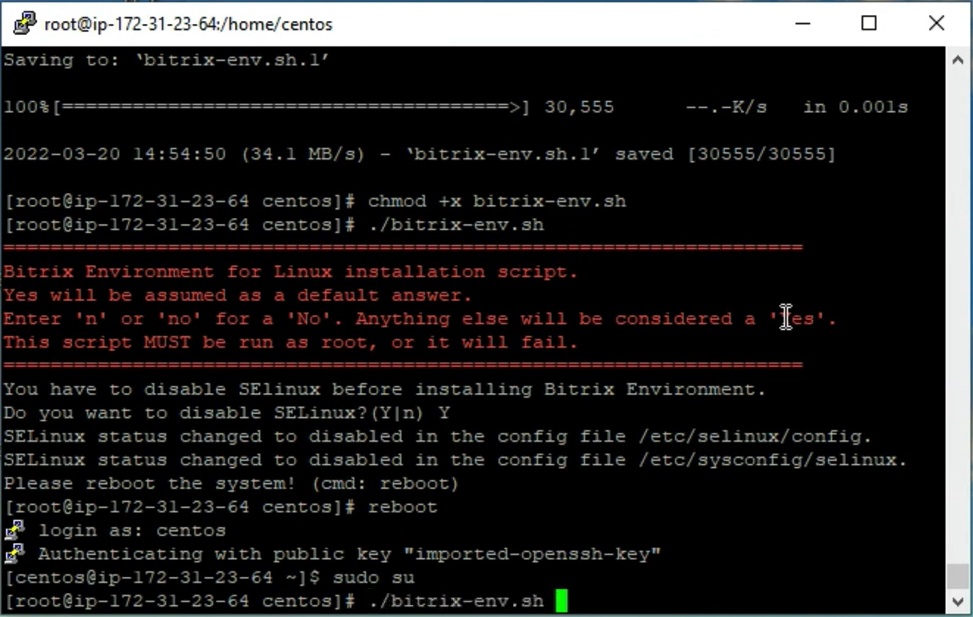
5. Here we are coming as roots
6. And start a Bitrix environment script for installation
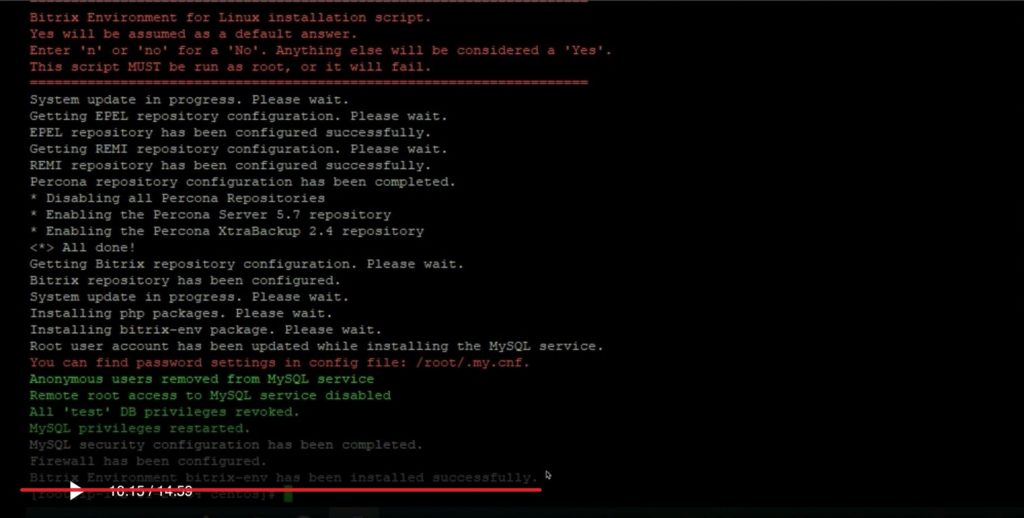
7. Bitrix environment has been installed successfully
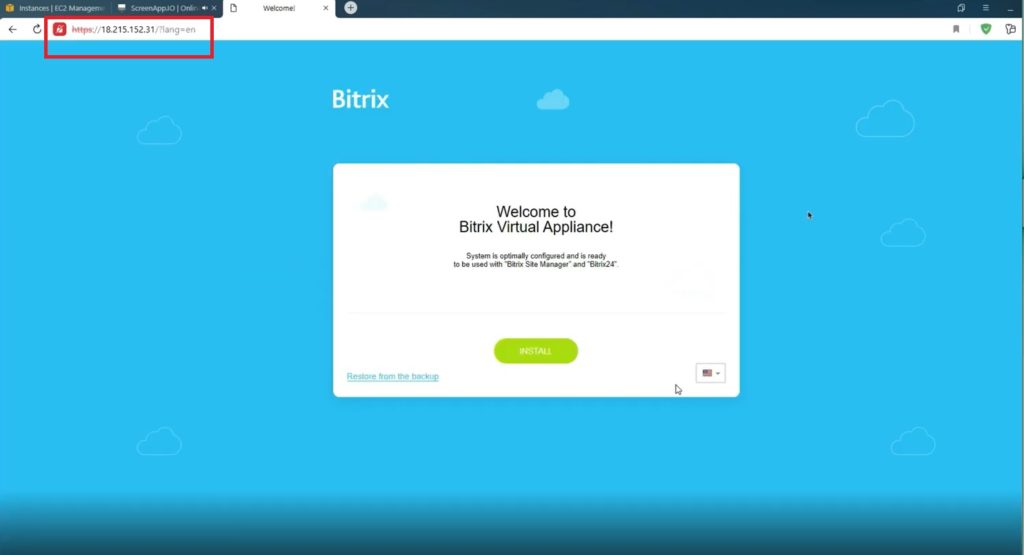
8. Then we follow the IP address of the server and come directly to configuration menu of Bitrix installation.
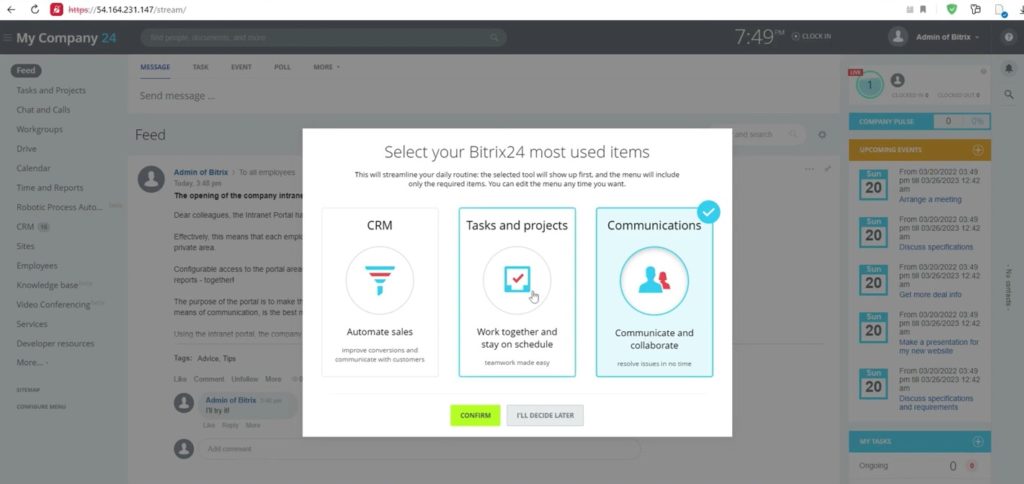
9. As we finish with installation, next step is going to admin panel and start to configure settings as per requirements.
That was a step-by-step guide of how to: bitrix24 installation self hosted.
If something seems struggling to you and more questions arise, do not hesitate to contact us. With our experienced team of business analysts, system administrators, and narrowly focused specialists we will be pleased to go through your case.
“You can also watch this video on Youtube”